Planner System Tutorials
Welcome
Welcome to the Defimedia Transport Planner System! This guide helps you learn how to use the system according to your role — whether you're an Admin managing users, a Transport Manager assigning vehicles, or a Reporter checking your conferences.
To begin, open https://planner.radioplus.mu/ in your browser and log in using your assigned username and password.
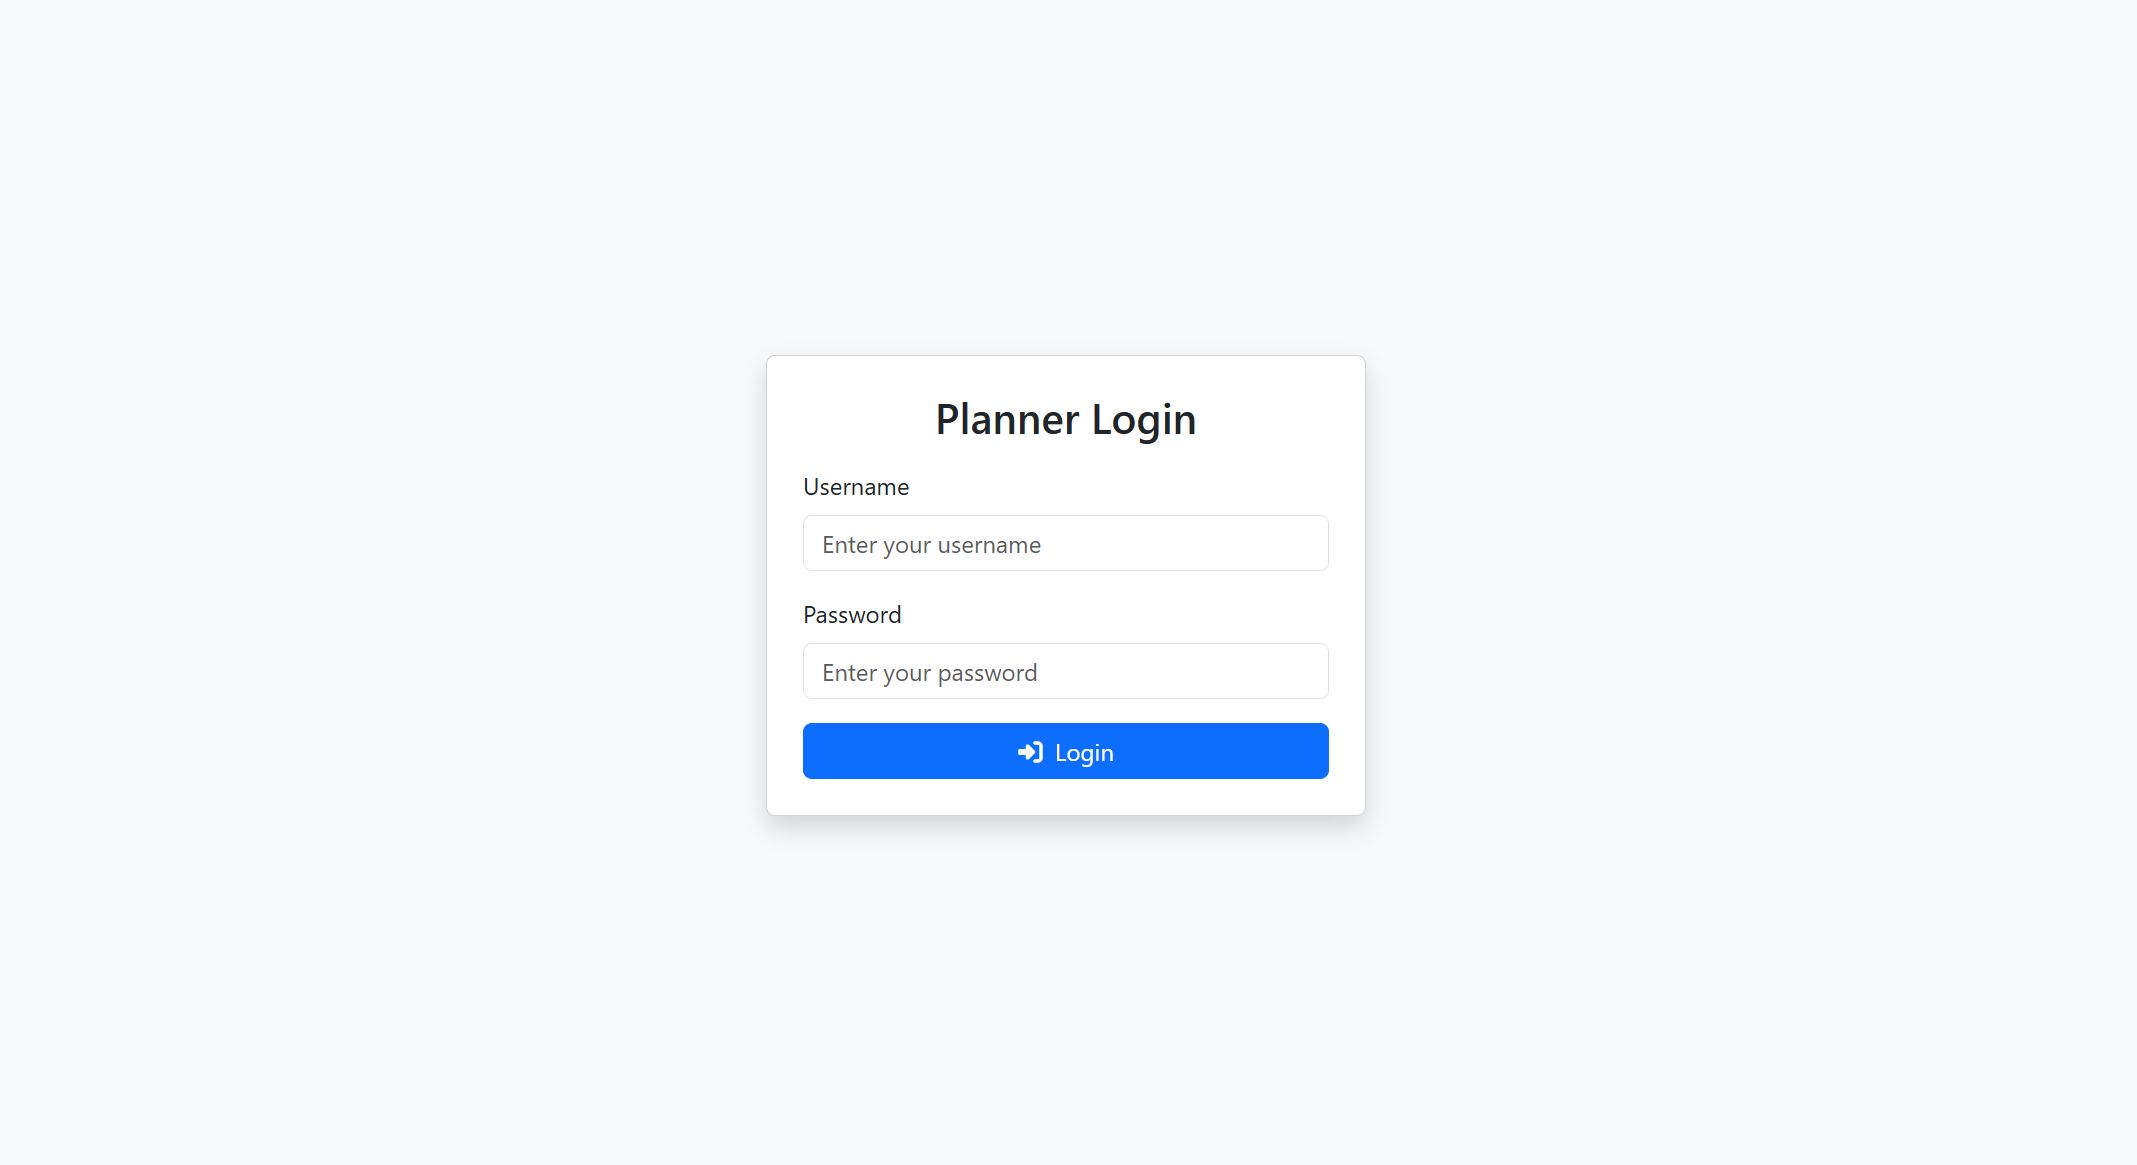
On this login screen, enter your username and password in the provided fields, then click the Login button. Once authenticated, you'll be redirected to your personalized dashboard according to your role.
Admin Tutorial
The Admin has full control of the Planner System. As an Admin, you can manage users, assign roles, view all activities, and monitor every cluster. Use this section to familiarize yourself with the tools available in your dashboard.
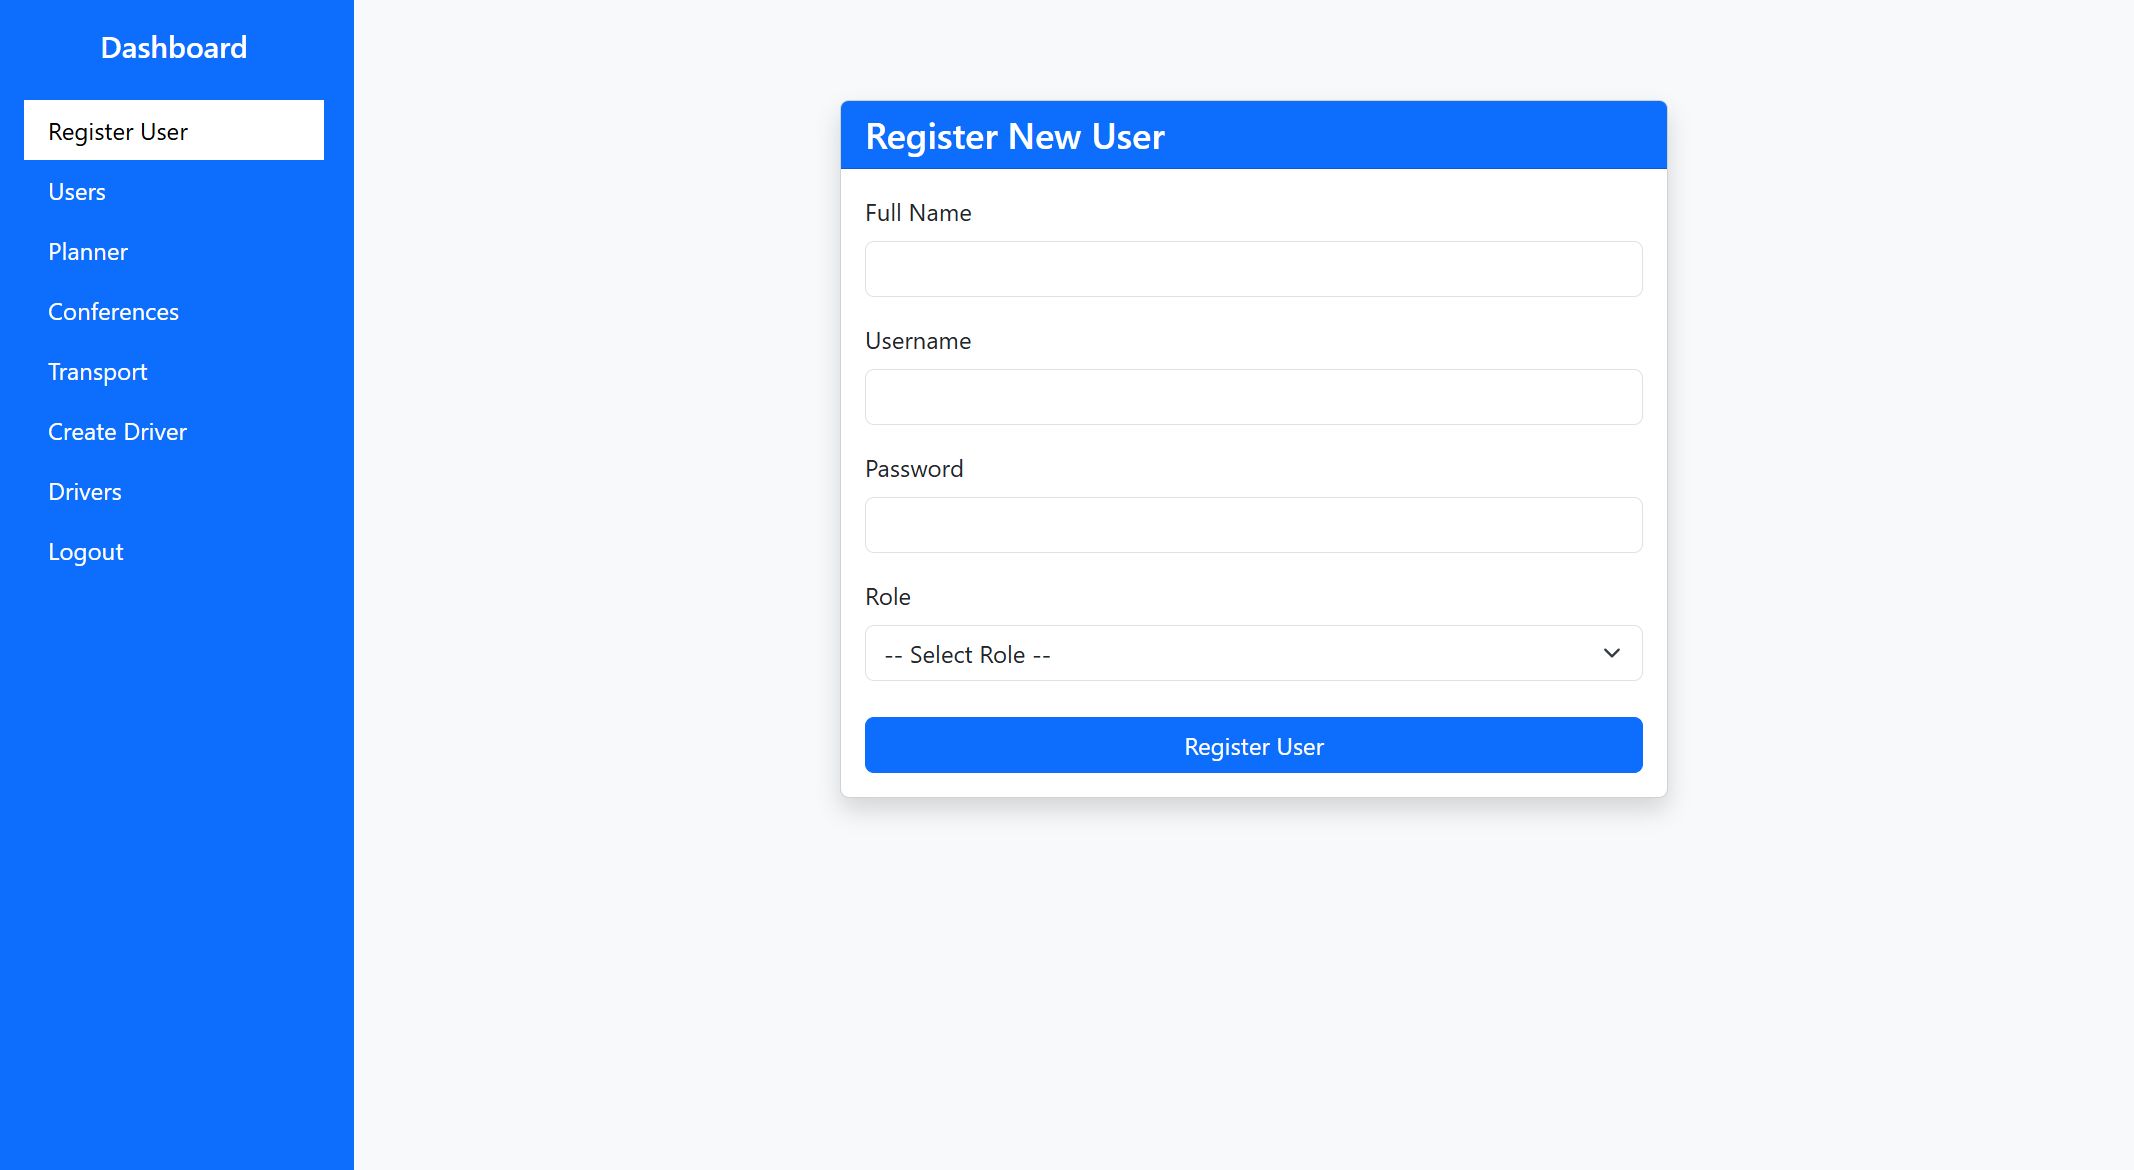
This screen allows the Admin to register new users and assign them a role. Fill in the required fields such as Name, Username, Password, and Role, then click Register to add them to the system.
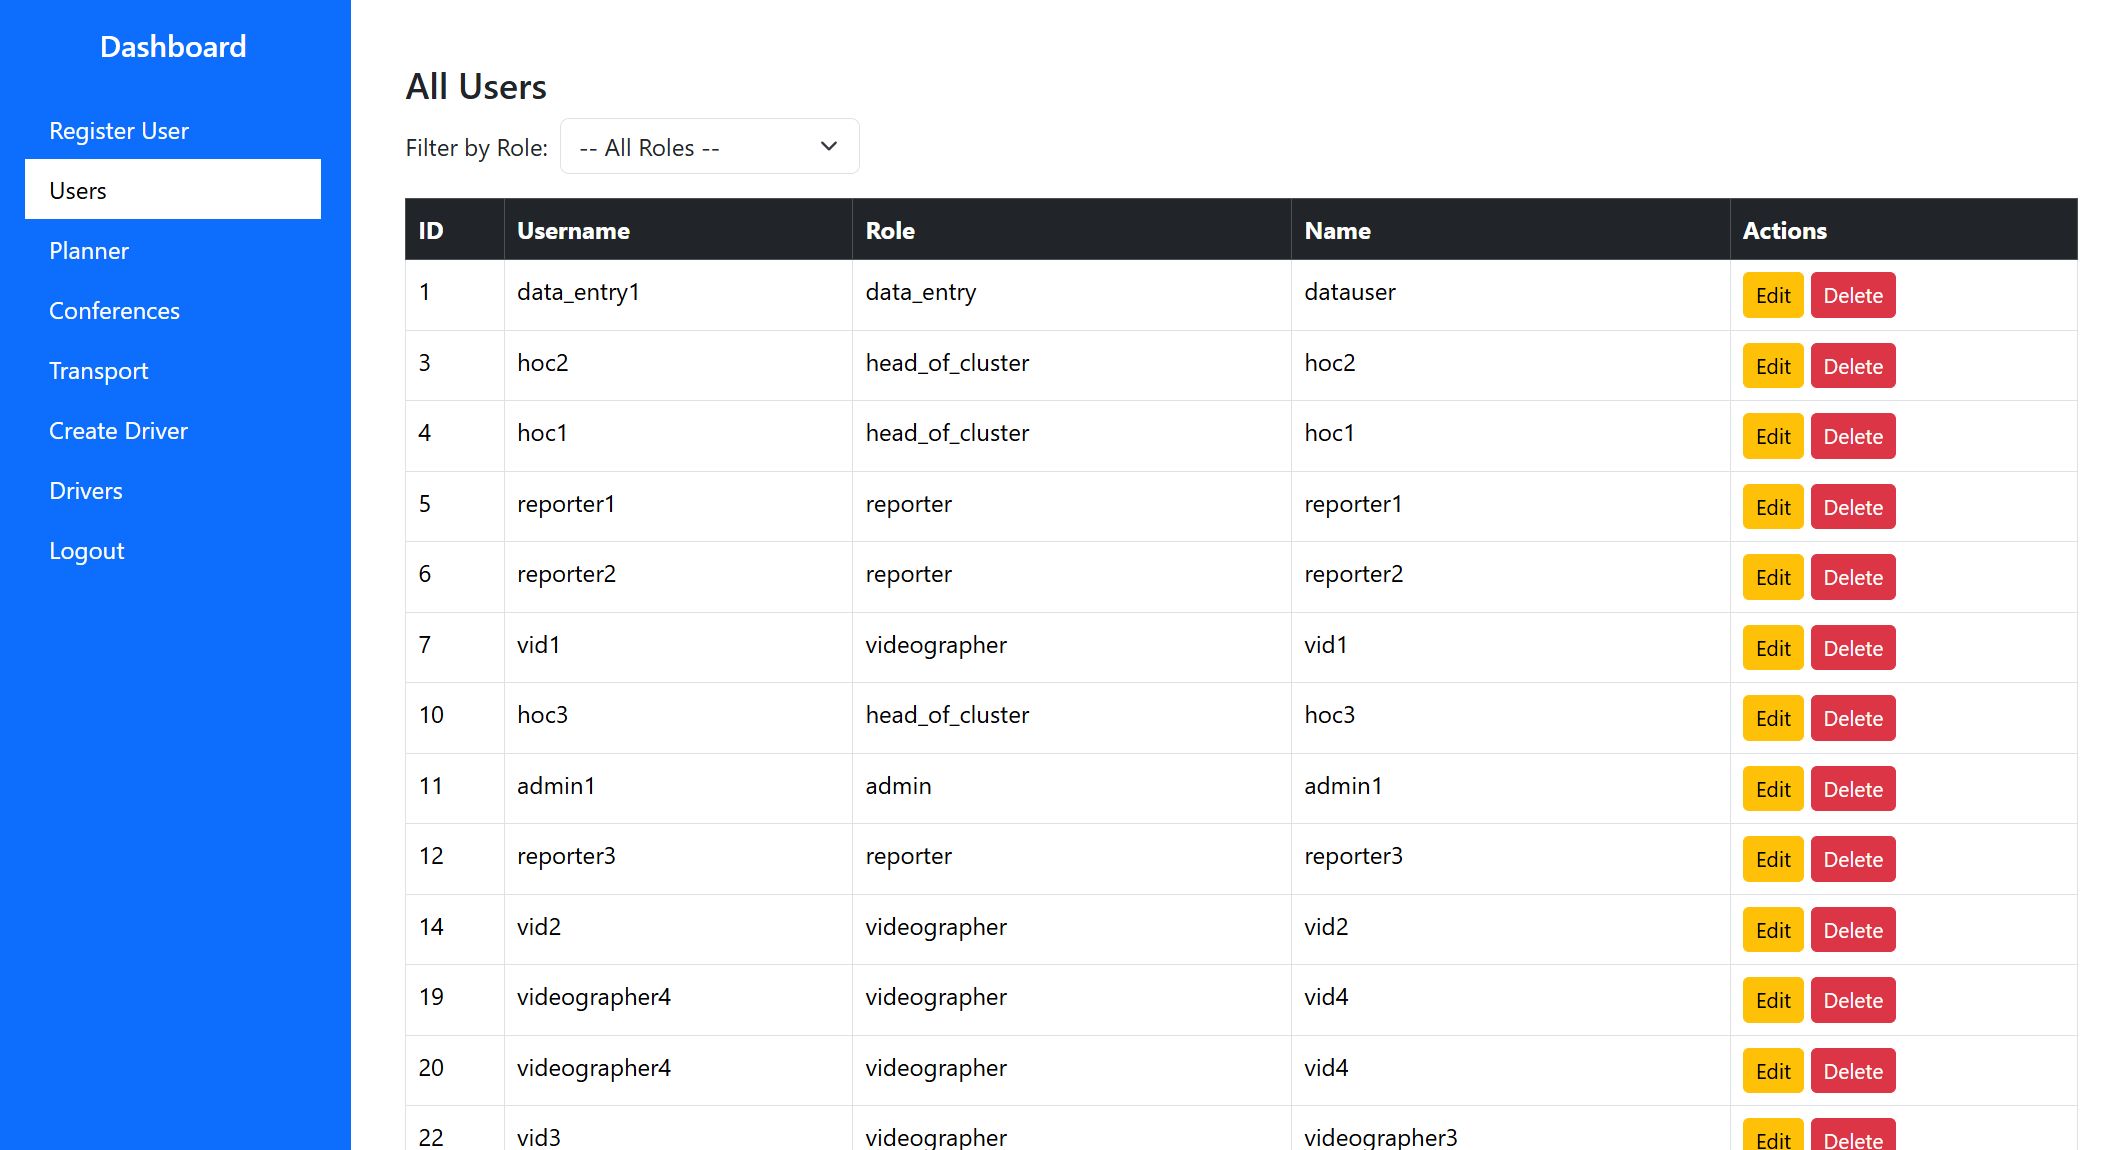
This page lists all existing users in the system. From here, the Admin can edit user details or delete accounts that are no longer needed. To modify an account, click Edit; to remove one, click Delete on the rightmost column.
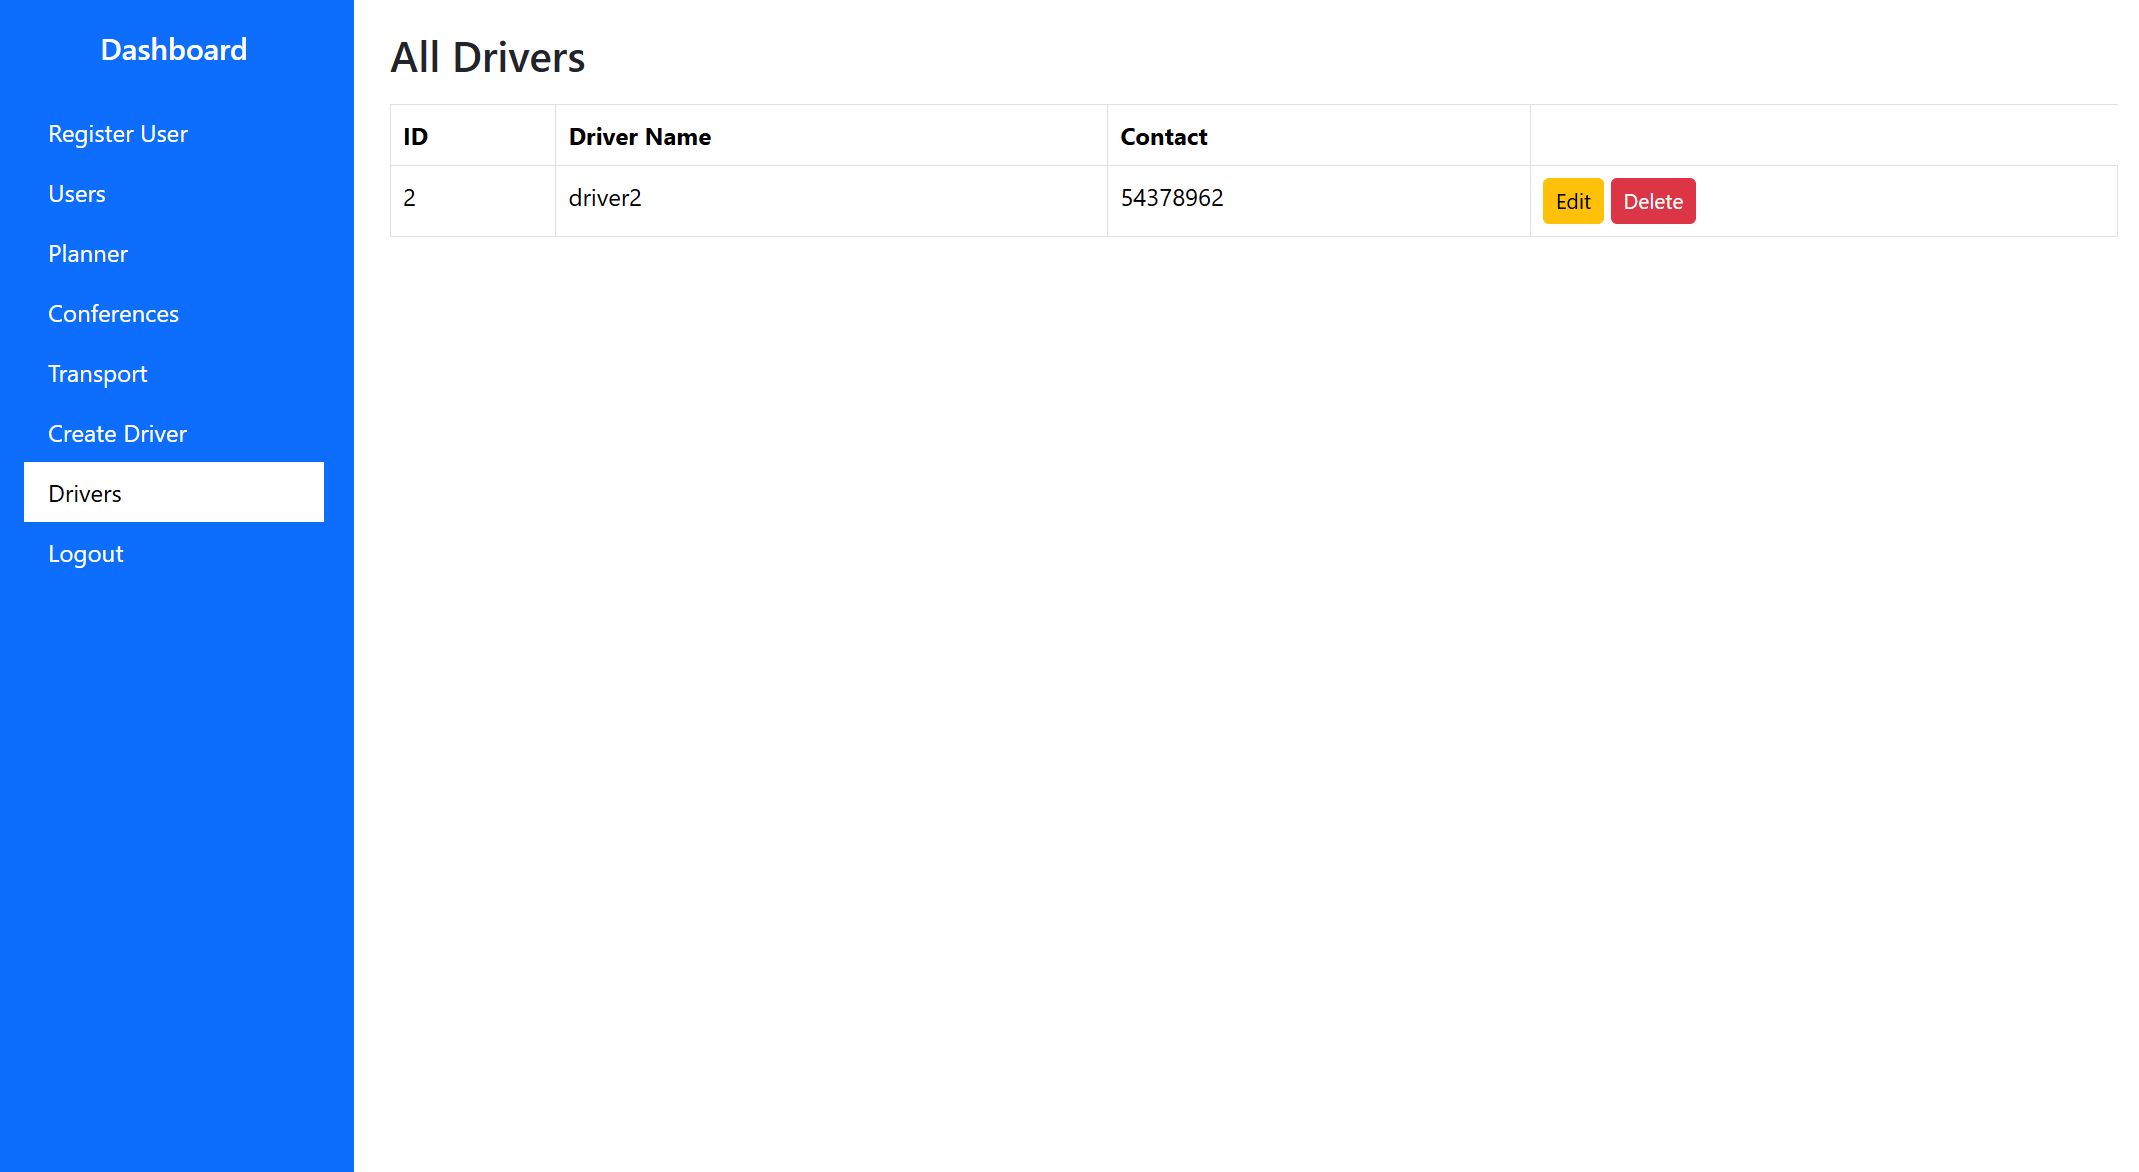
This section shows all registered drivers in the system. The Admin can review driver information, contact details, and either edit or delete drivers.
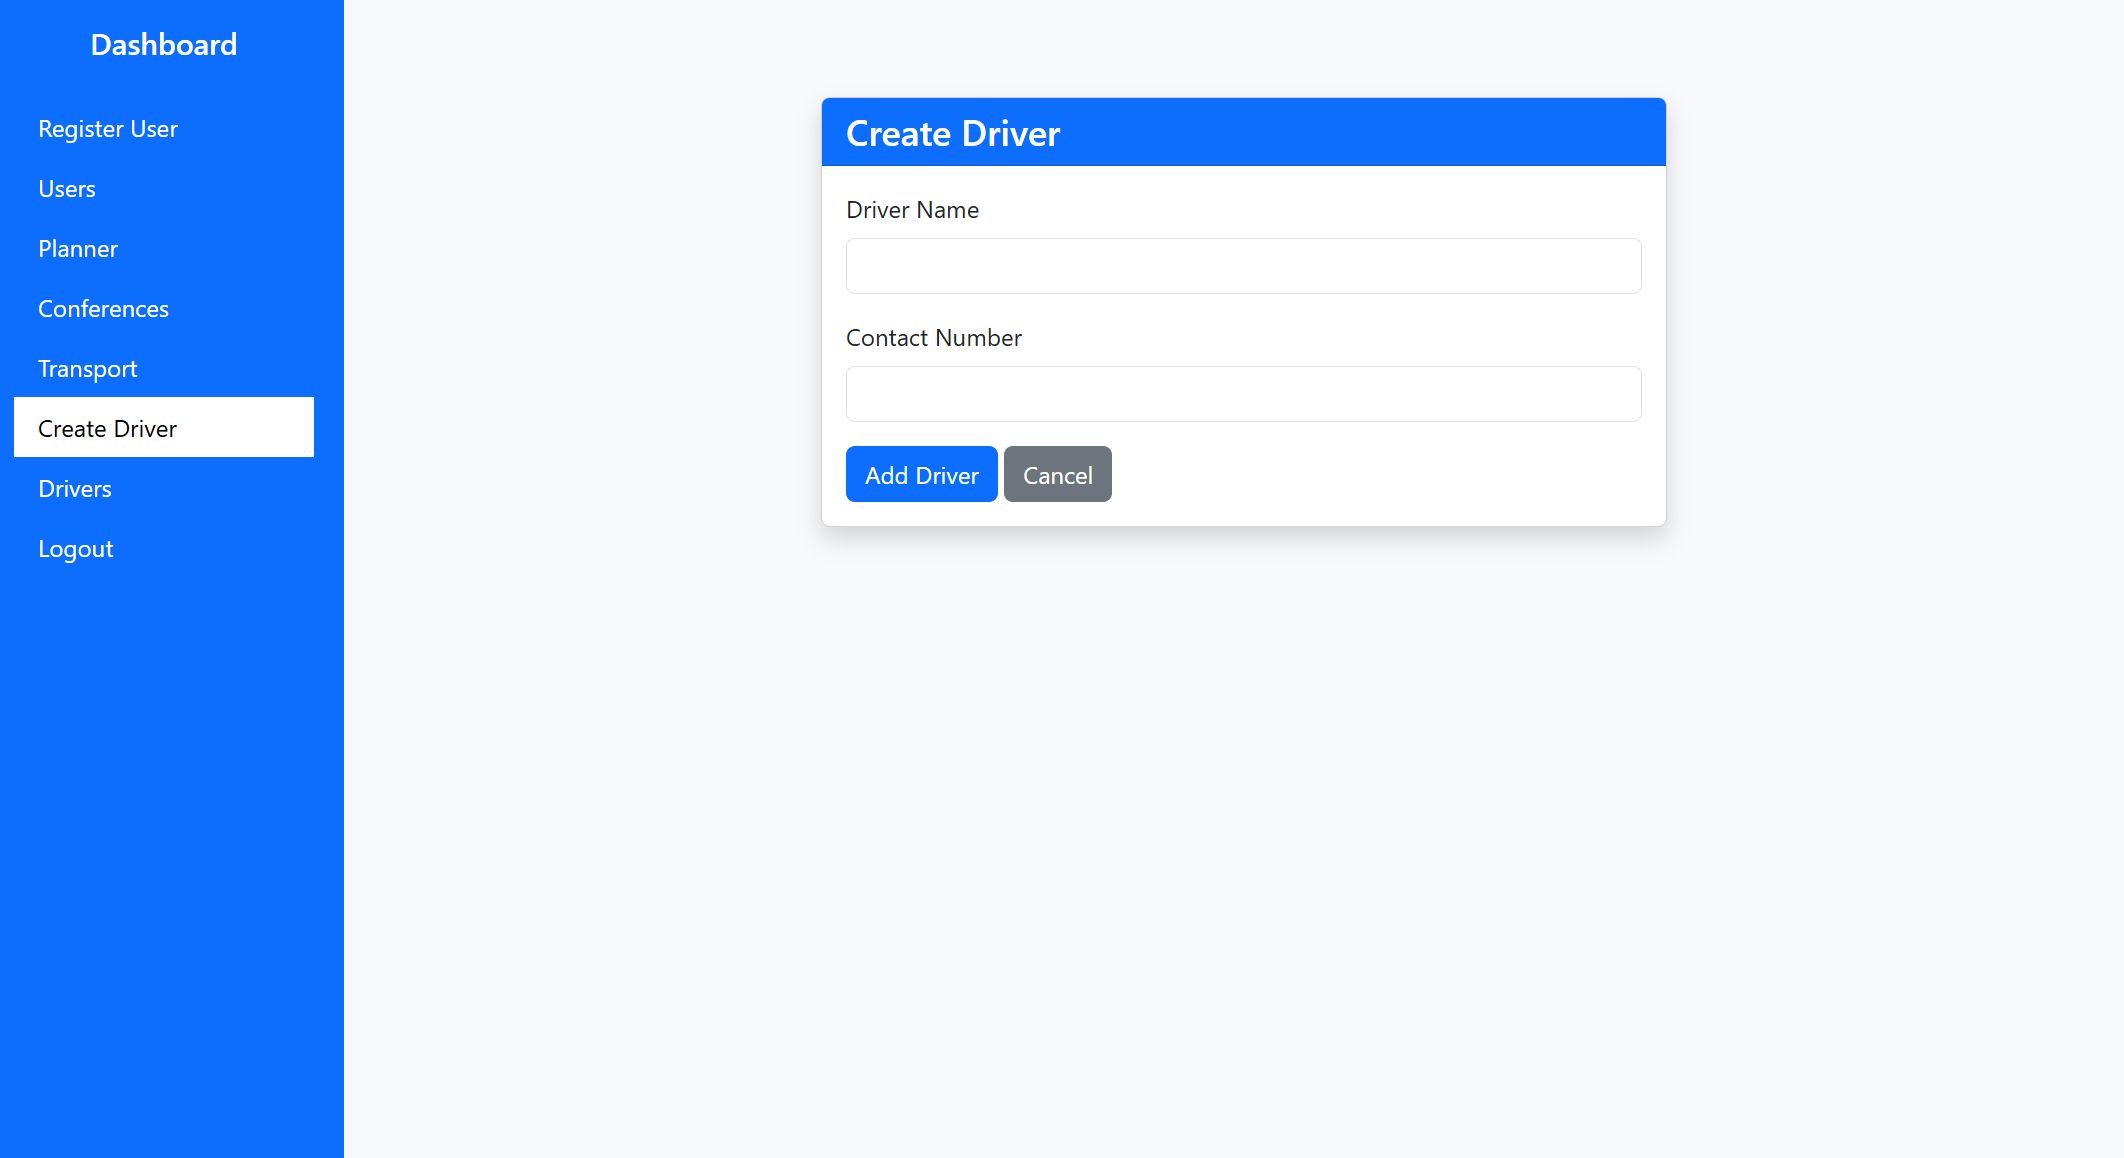
This screen allows the Admin to create a new driver record. Enter the driver’s name and contact number, then press Save. Keeping driver data up to date helps Transport Managers assign them efficiently.
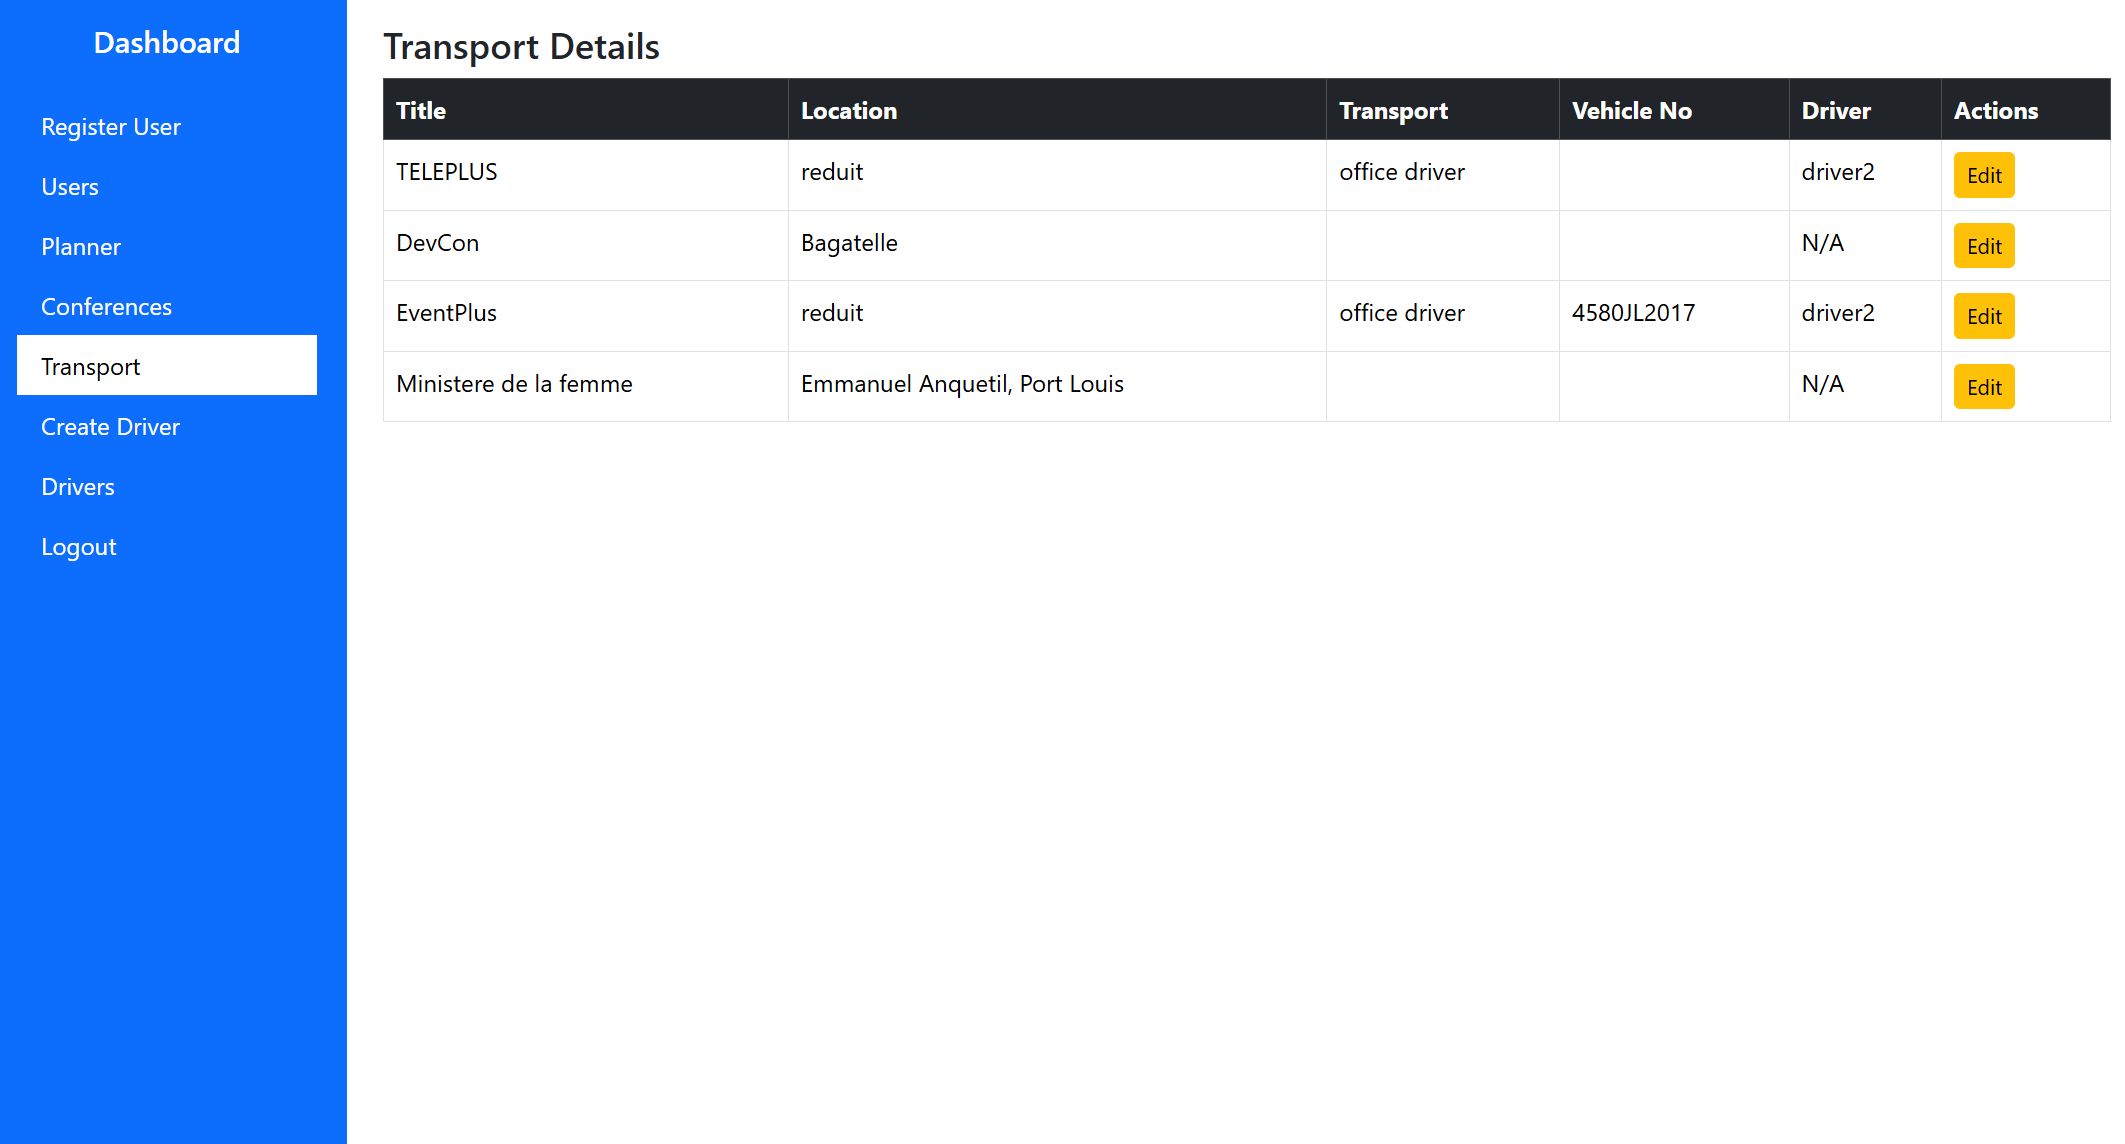
The Transport module gives Admins a quick overview of all vehicles and their current assignments. Here you can verify if each vehicle is available or already scheduled for a conference.
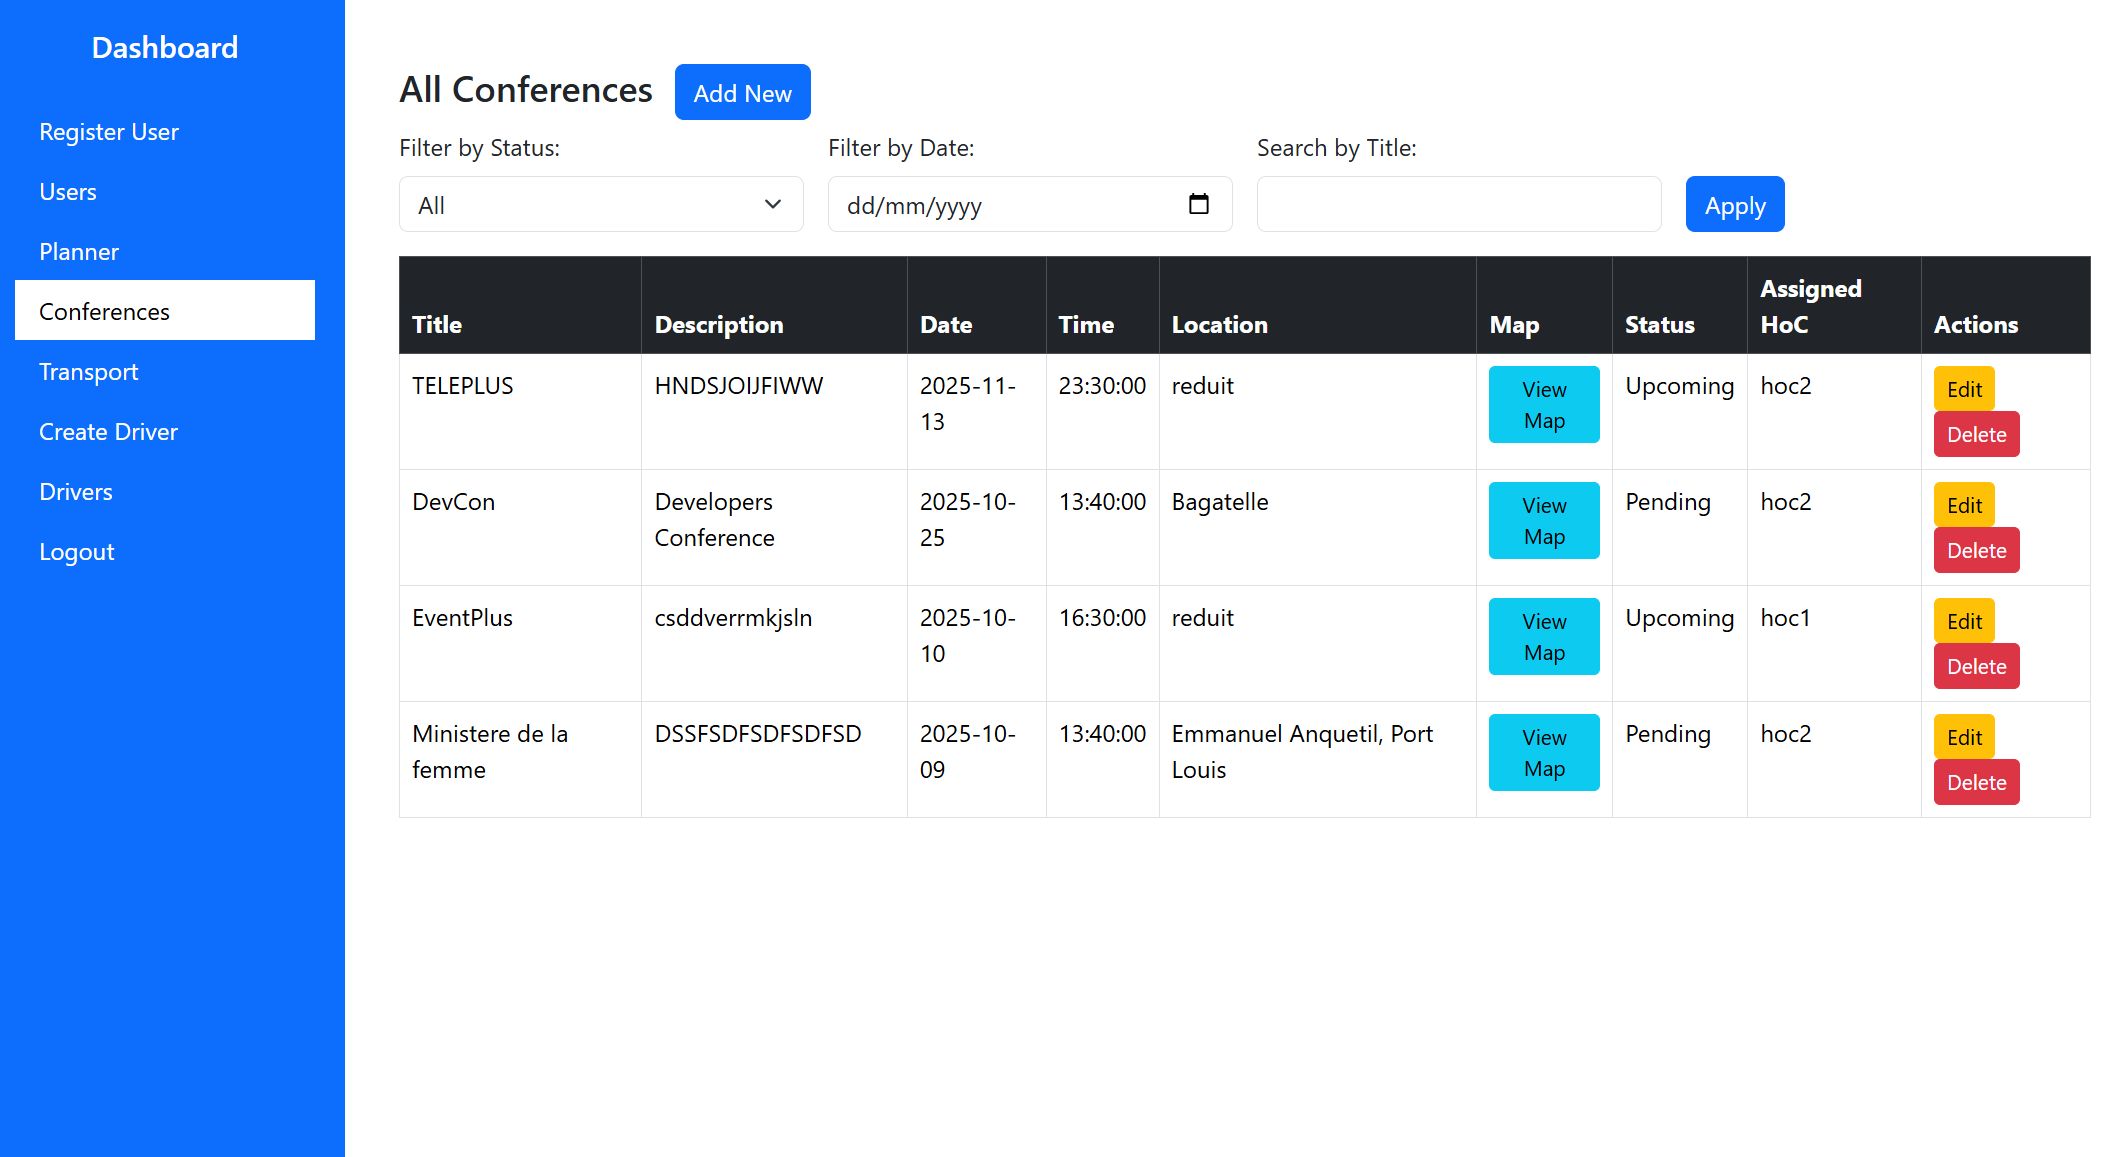
The Conferences section lets the Admin view all ongoing and upcoming events across clusters. It’s a useful overview to monitor scheduling and ensure proper coordination between departments.
Head of Cluster Tutorial
The Head of Cluster oversees one or more clusters. Their main responsibility is to review conference requests, assign reporters and videographers, and monitor the overall status of activities within their cluster.
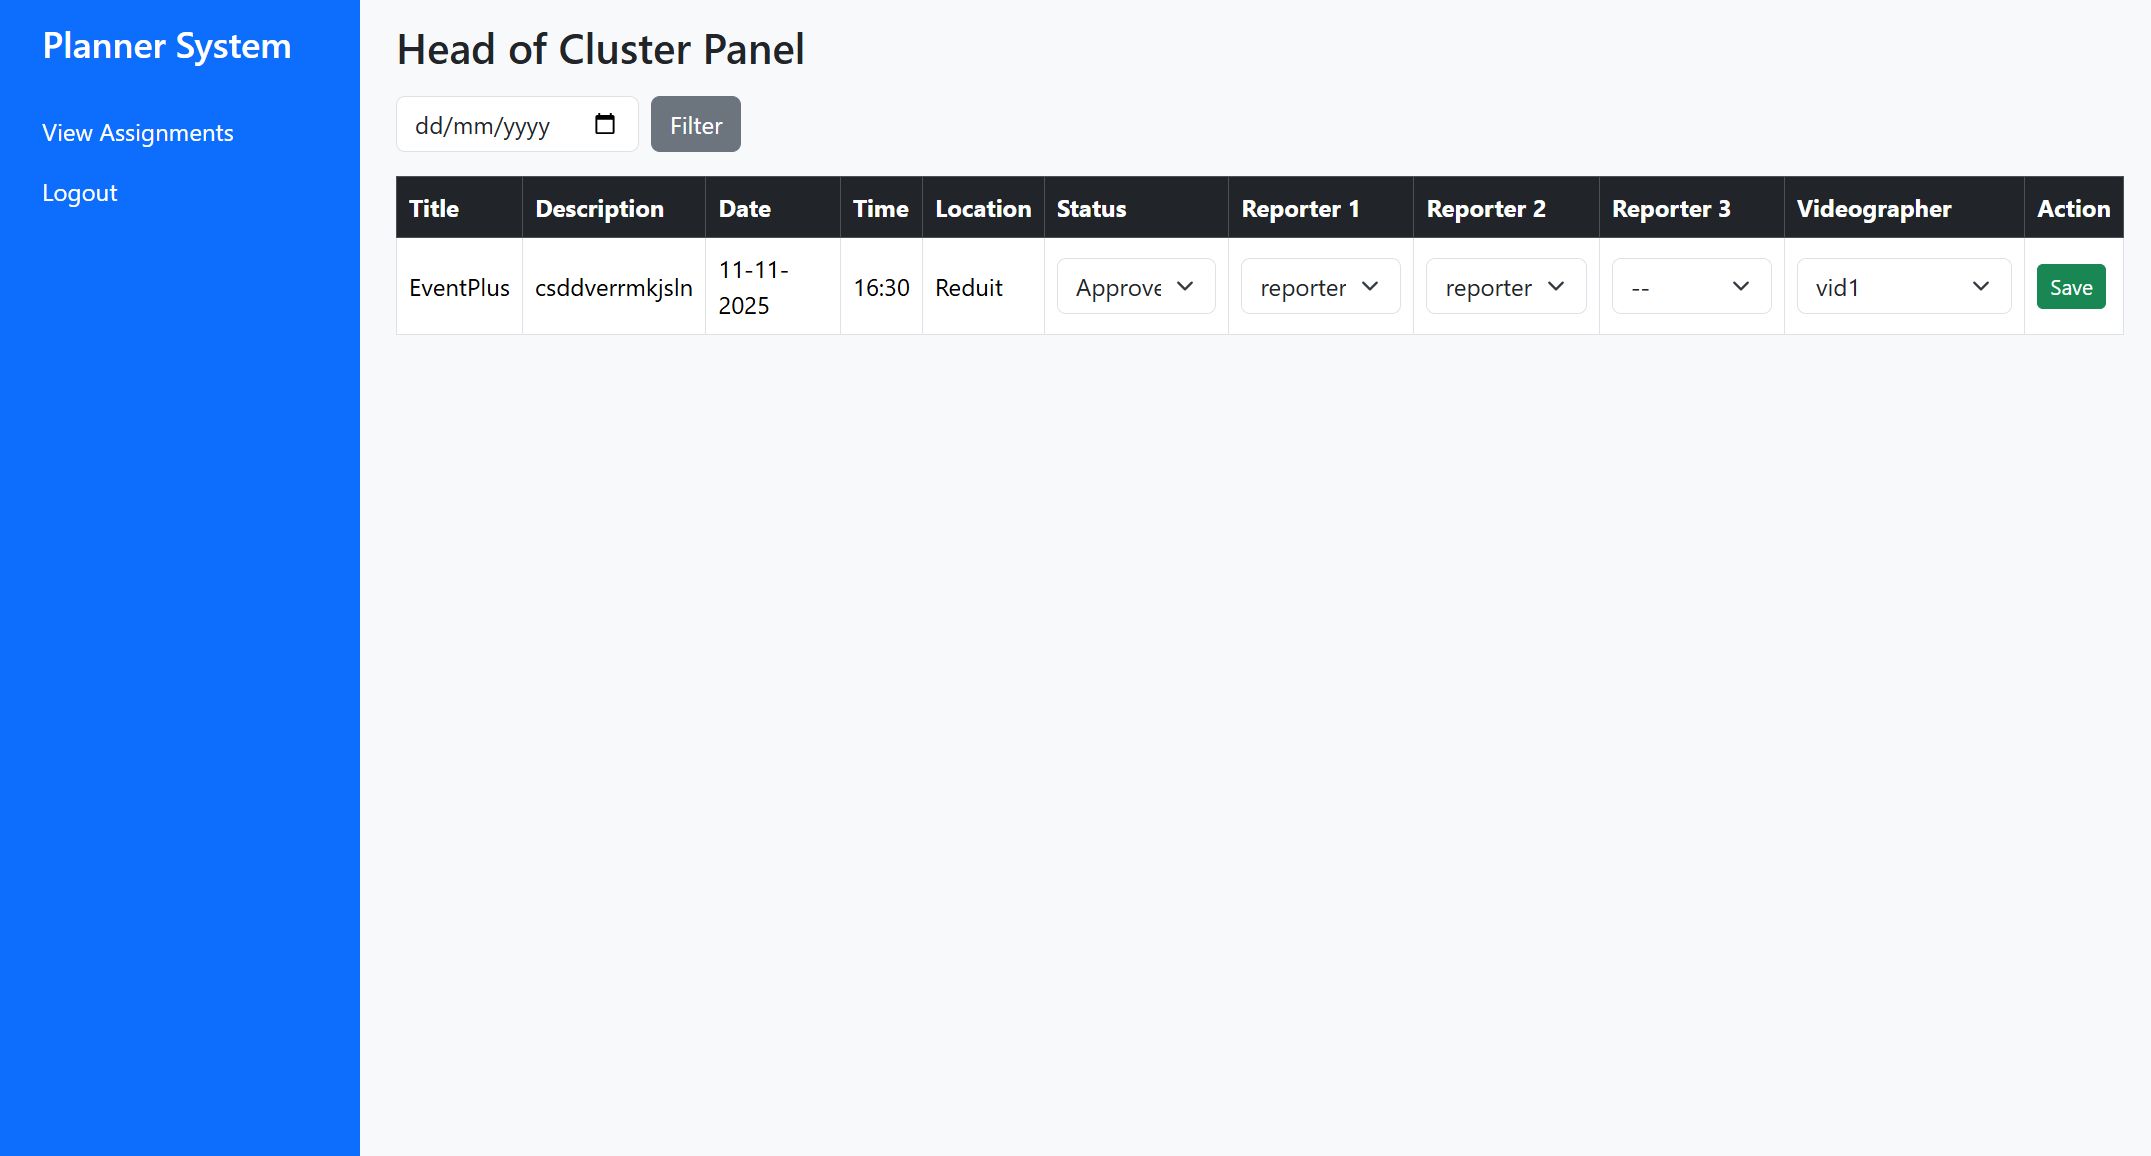
This screen allows the Head of Cluster to update the status of a conference and assign a reporter and videographer to it. Select the desired conference from the list, choose the appropriate staff members from the dropdown menus, and then click Save to confirm your assignment.
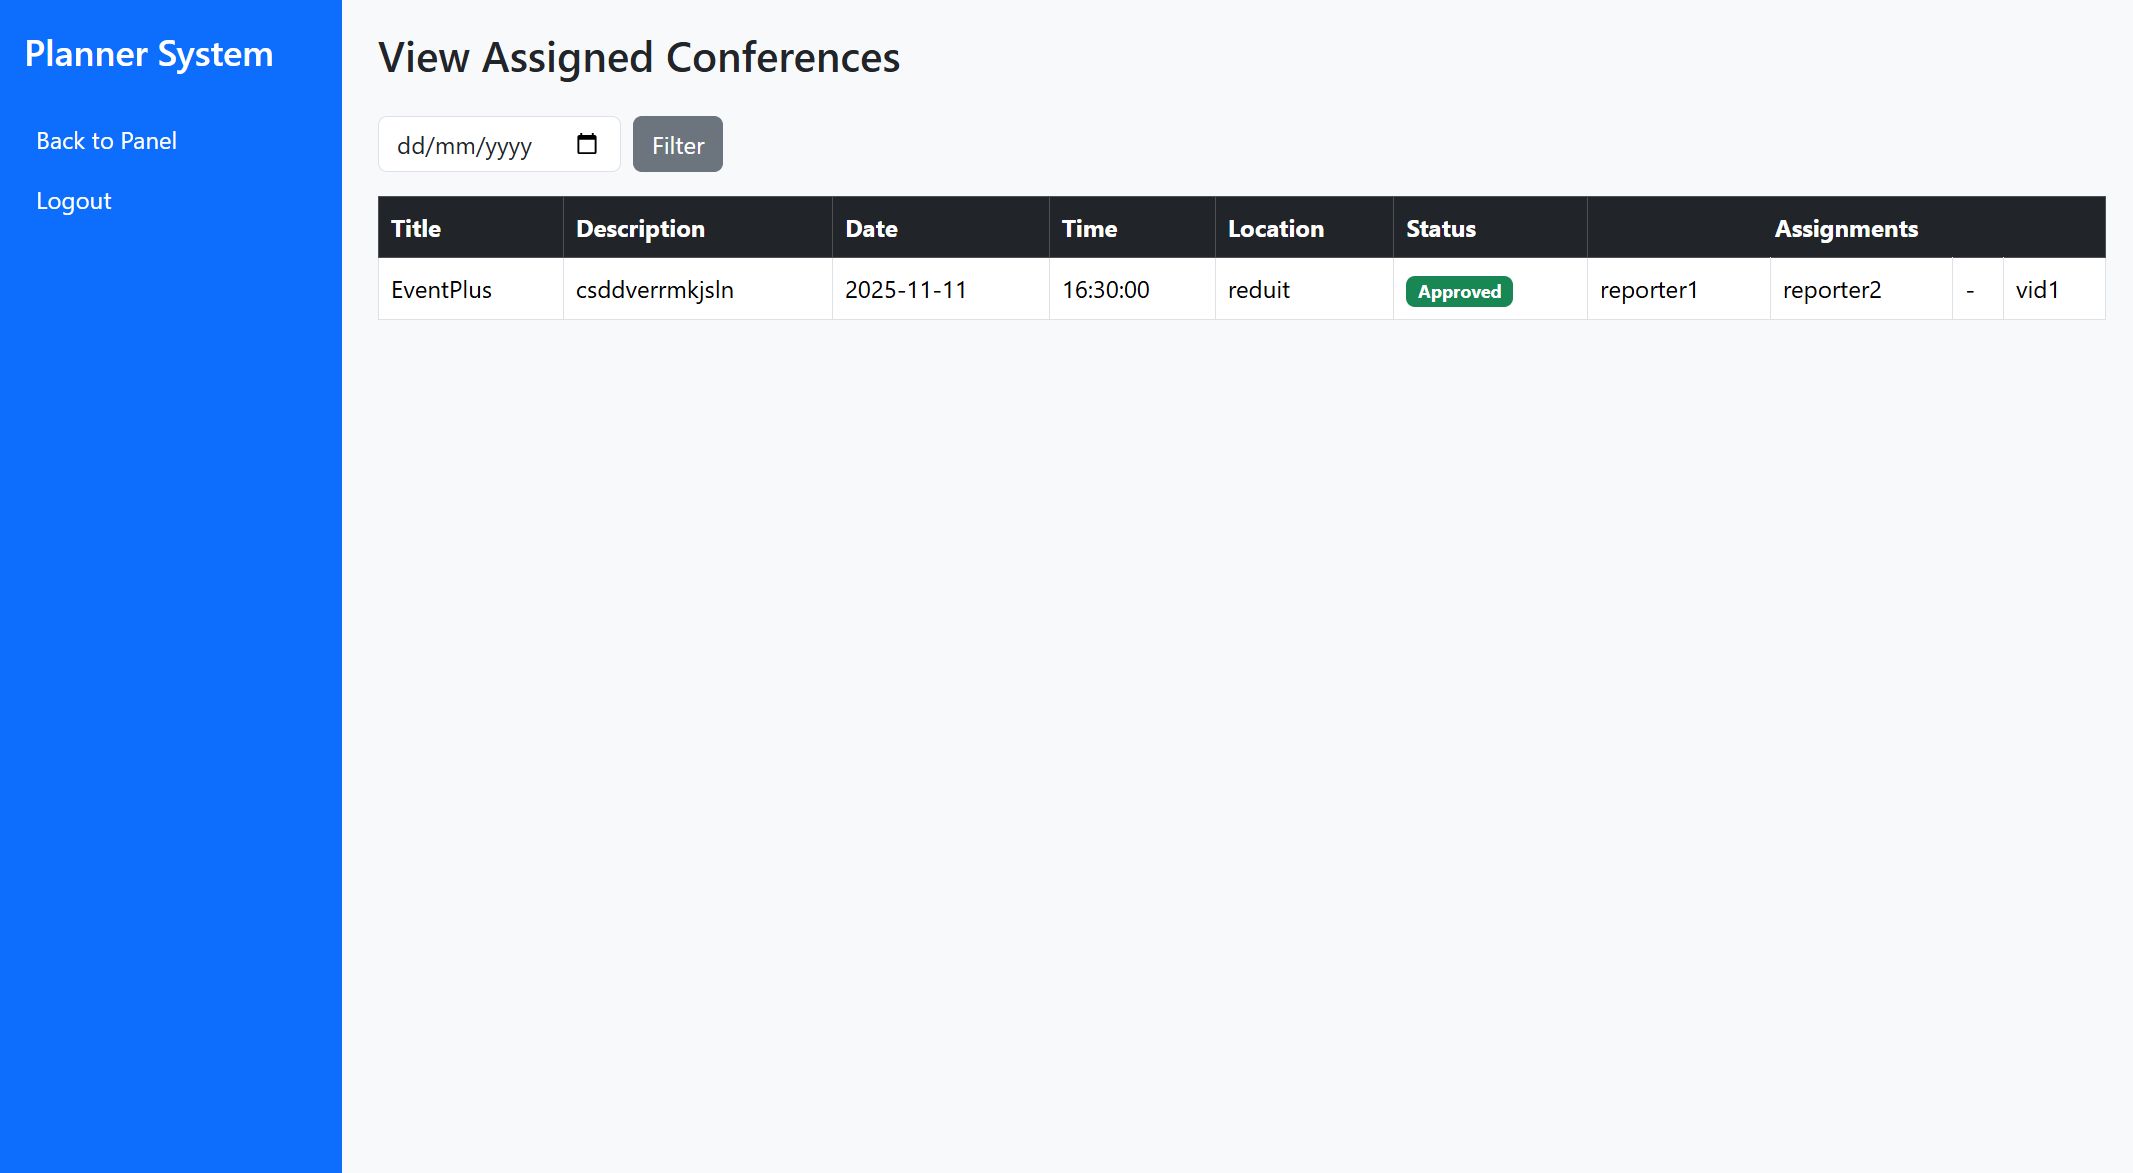
This view shows all the conferences that have been assigned to the cluster. The Head of Cluster can track which events are pending, ongoing, or completed, and quickly verify who’s been assigned to cover them.
Transport Manager Tutorial
The Transport Manager is responsible for managing drivers and vehicles. This includes assigning vehicles and drivers to conferences, reviewing their availability, and ensuring all logistics are ready before each event.
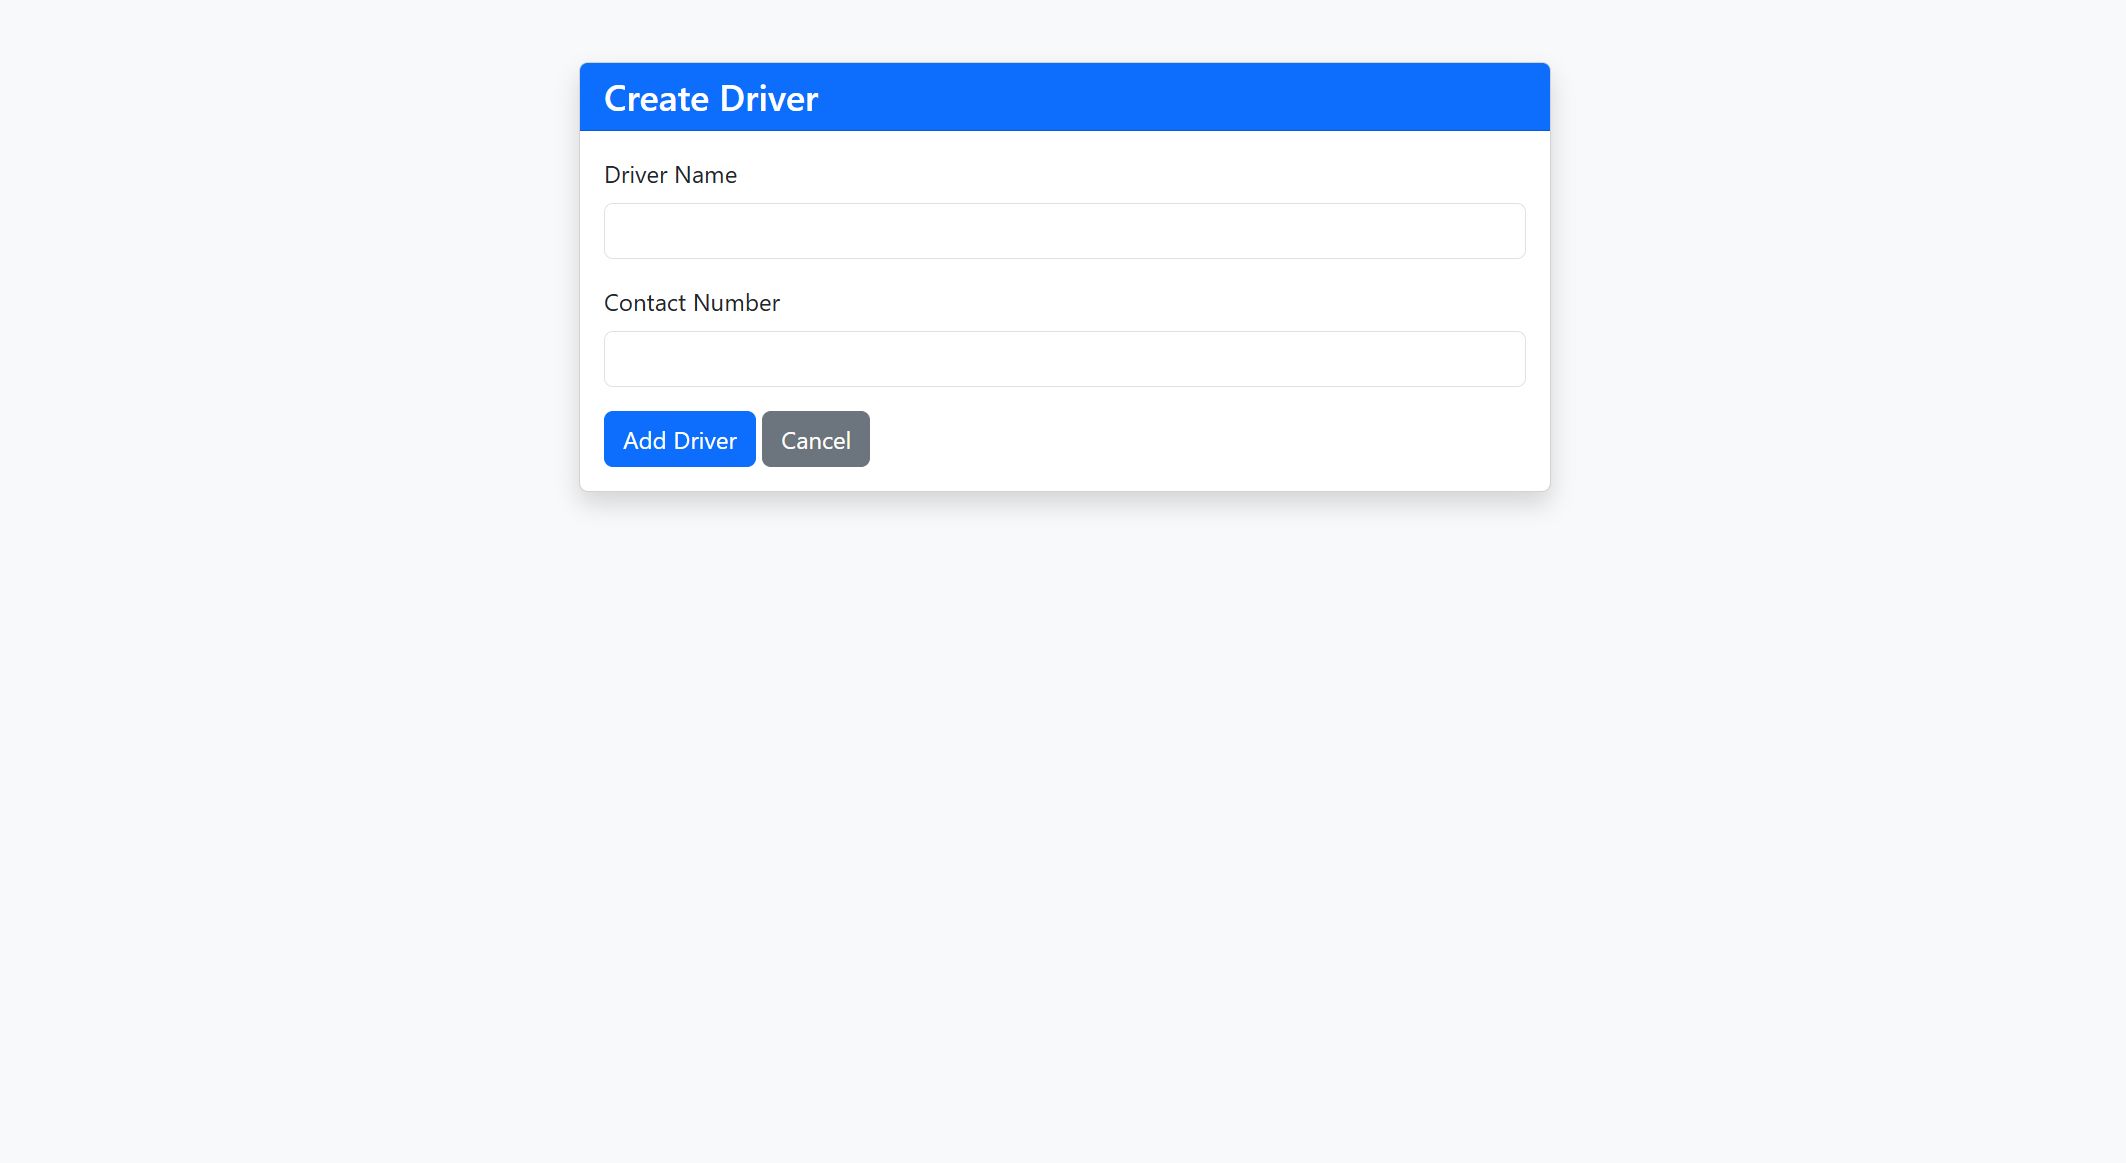
This screen lets the Transport Manager add a new driver to the system. Fill in the driver’s details such as name and phone number, then click Save to confirm. Keeping driver information updated helps streamline vehicle assignments.
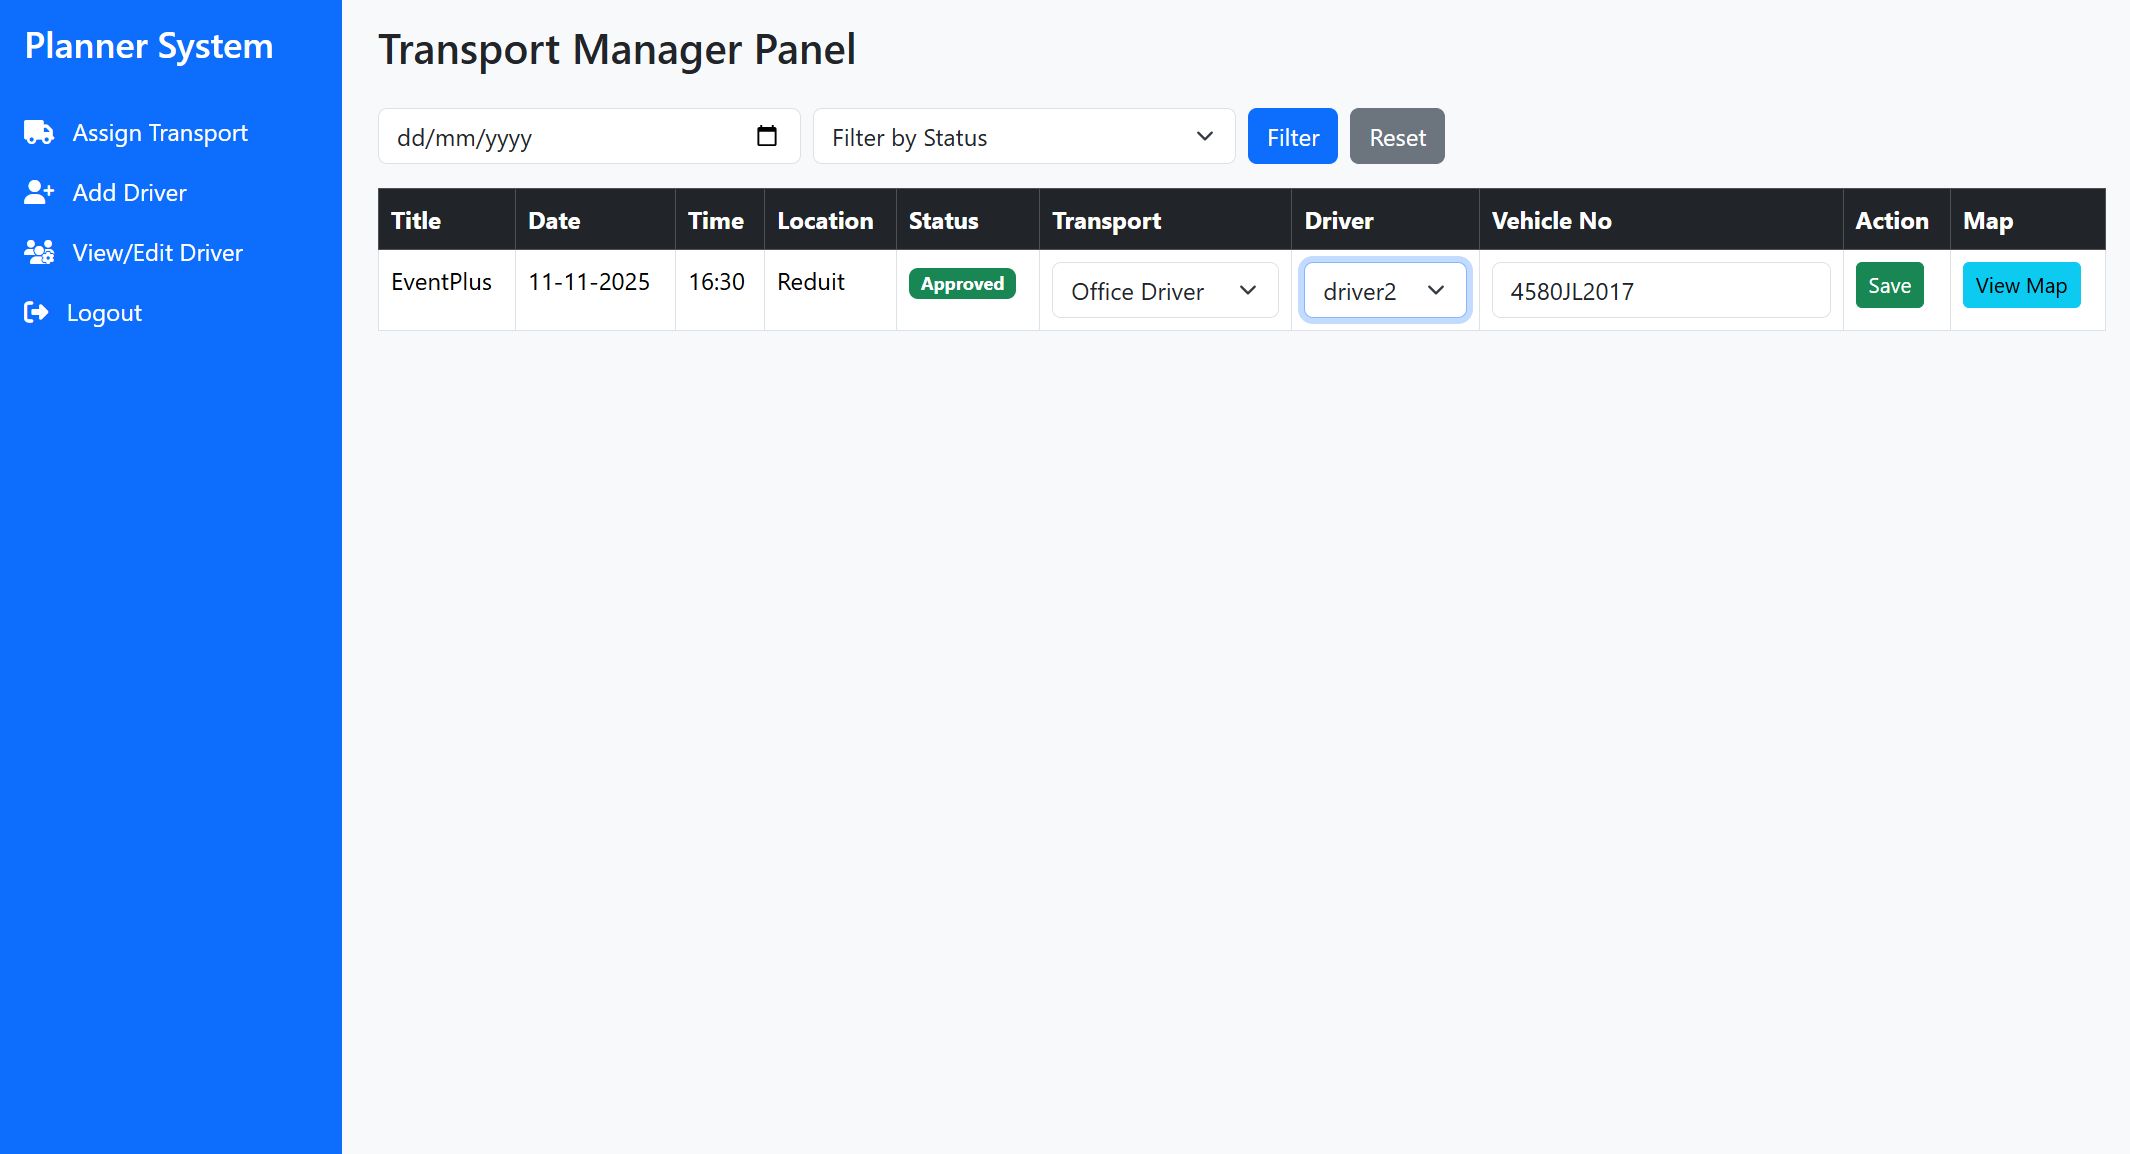
This page allows the Transport Manager to assign both a vehicle and a driver to a specific conference. Choose the desired conference, then select the available driver and vehicle from the dropdown menus. After confirming, the system records the assignment, ensuring the transport is properly scheduled.
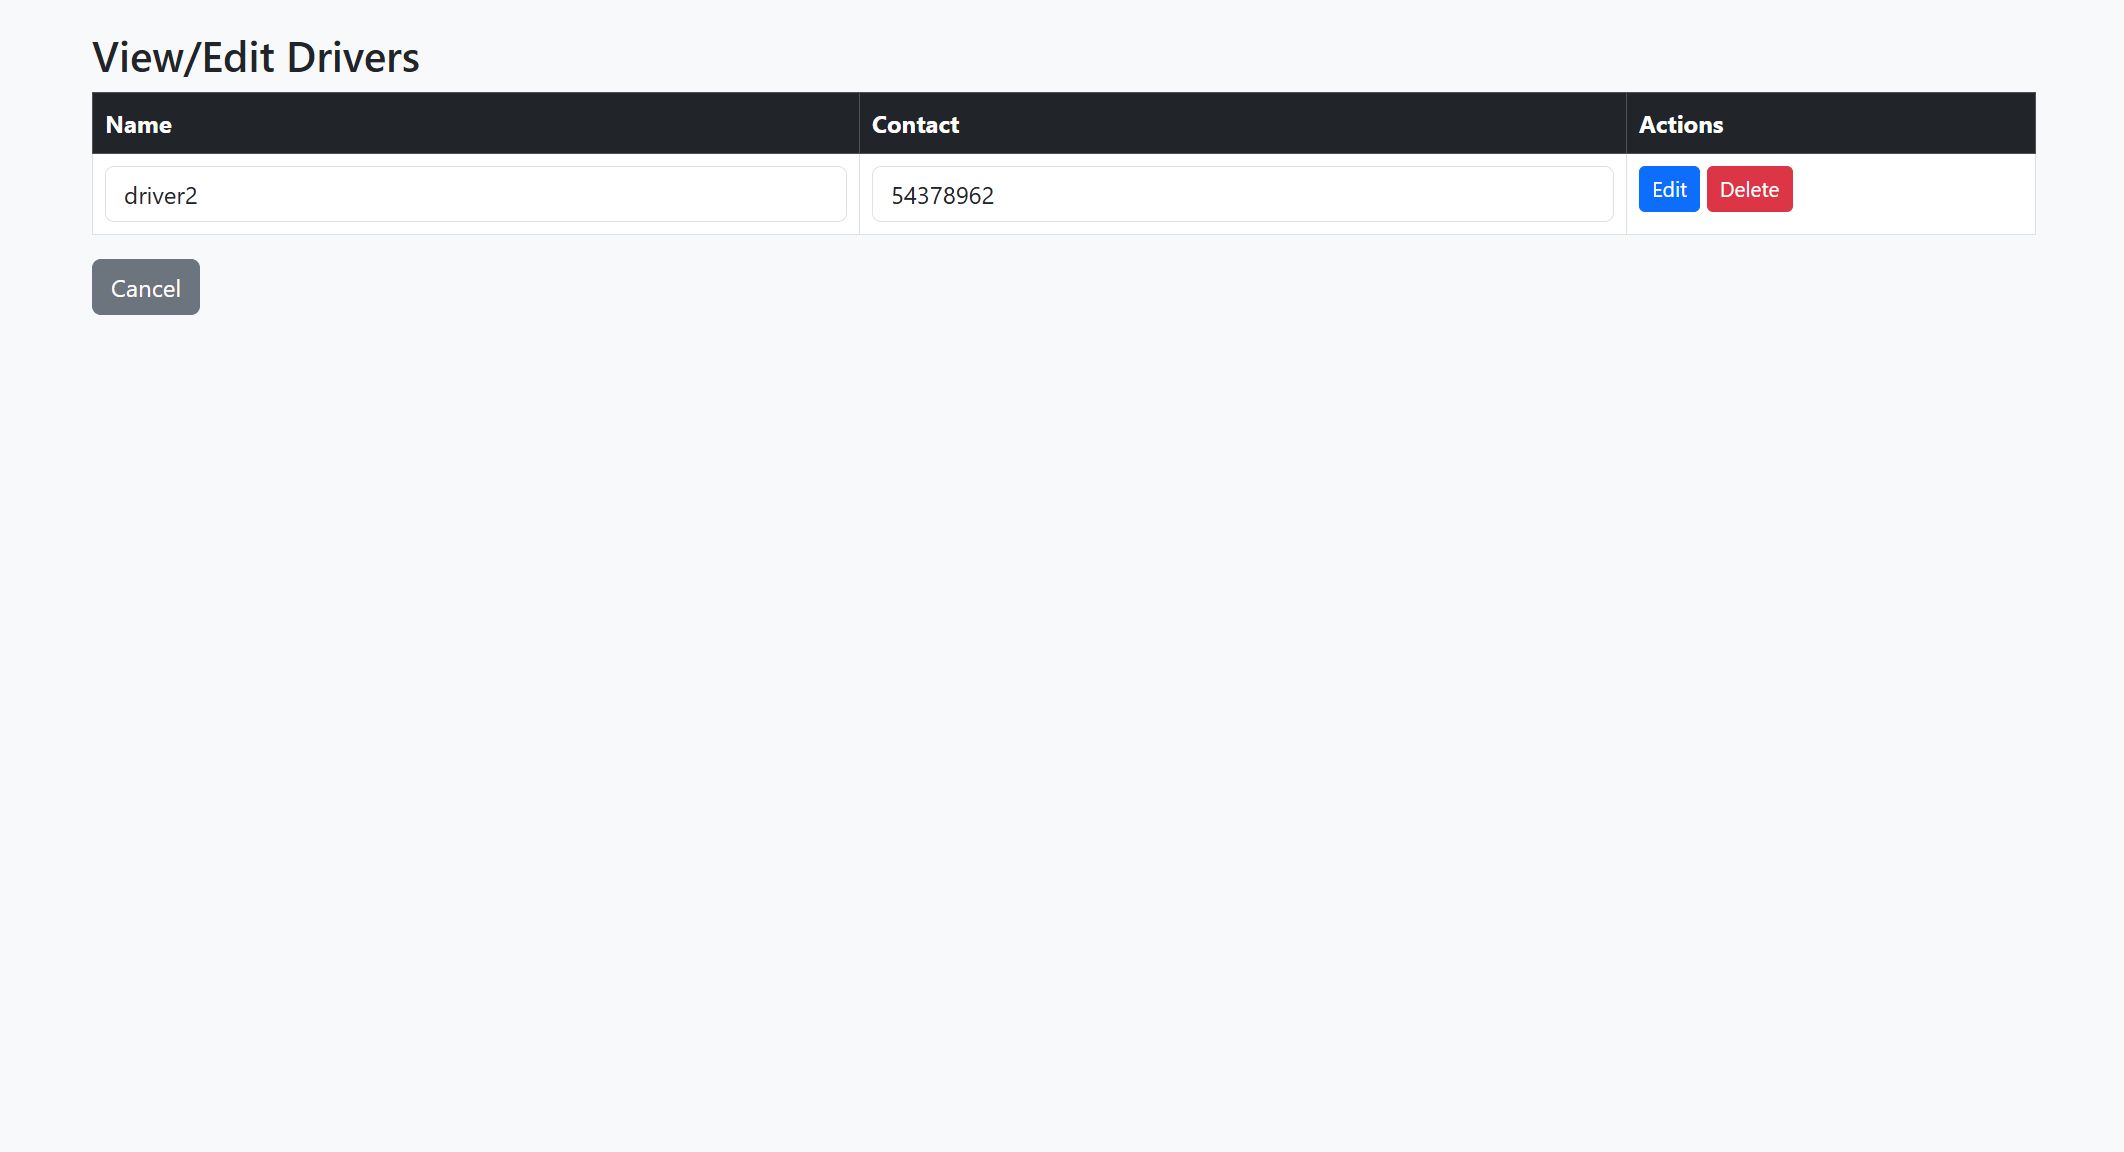
This view provides a complete list of all registered drivers. The Transport Manager can edit driver information, deactivate profiles if necessary, or remove outdated entries using the Edit and Delete buttons.
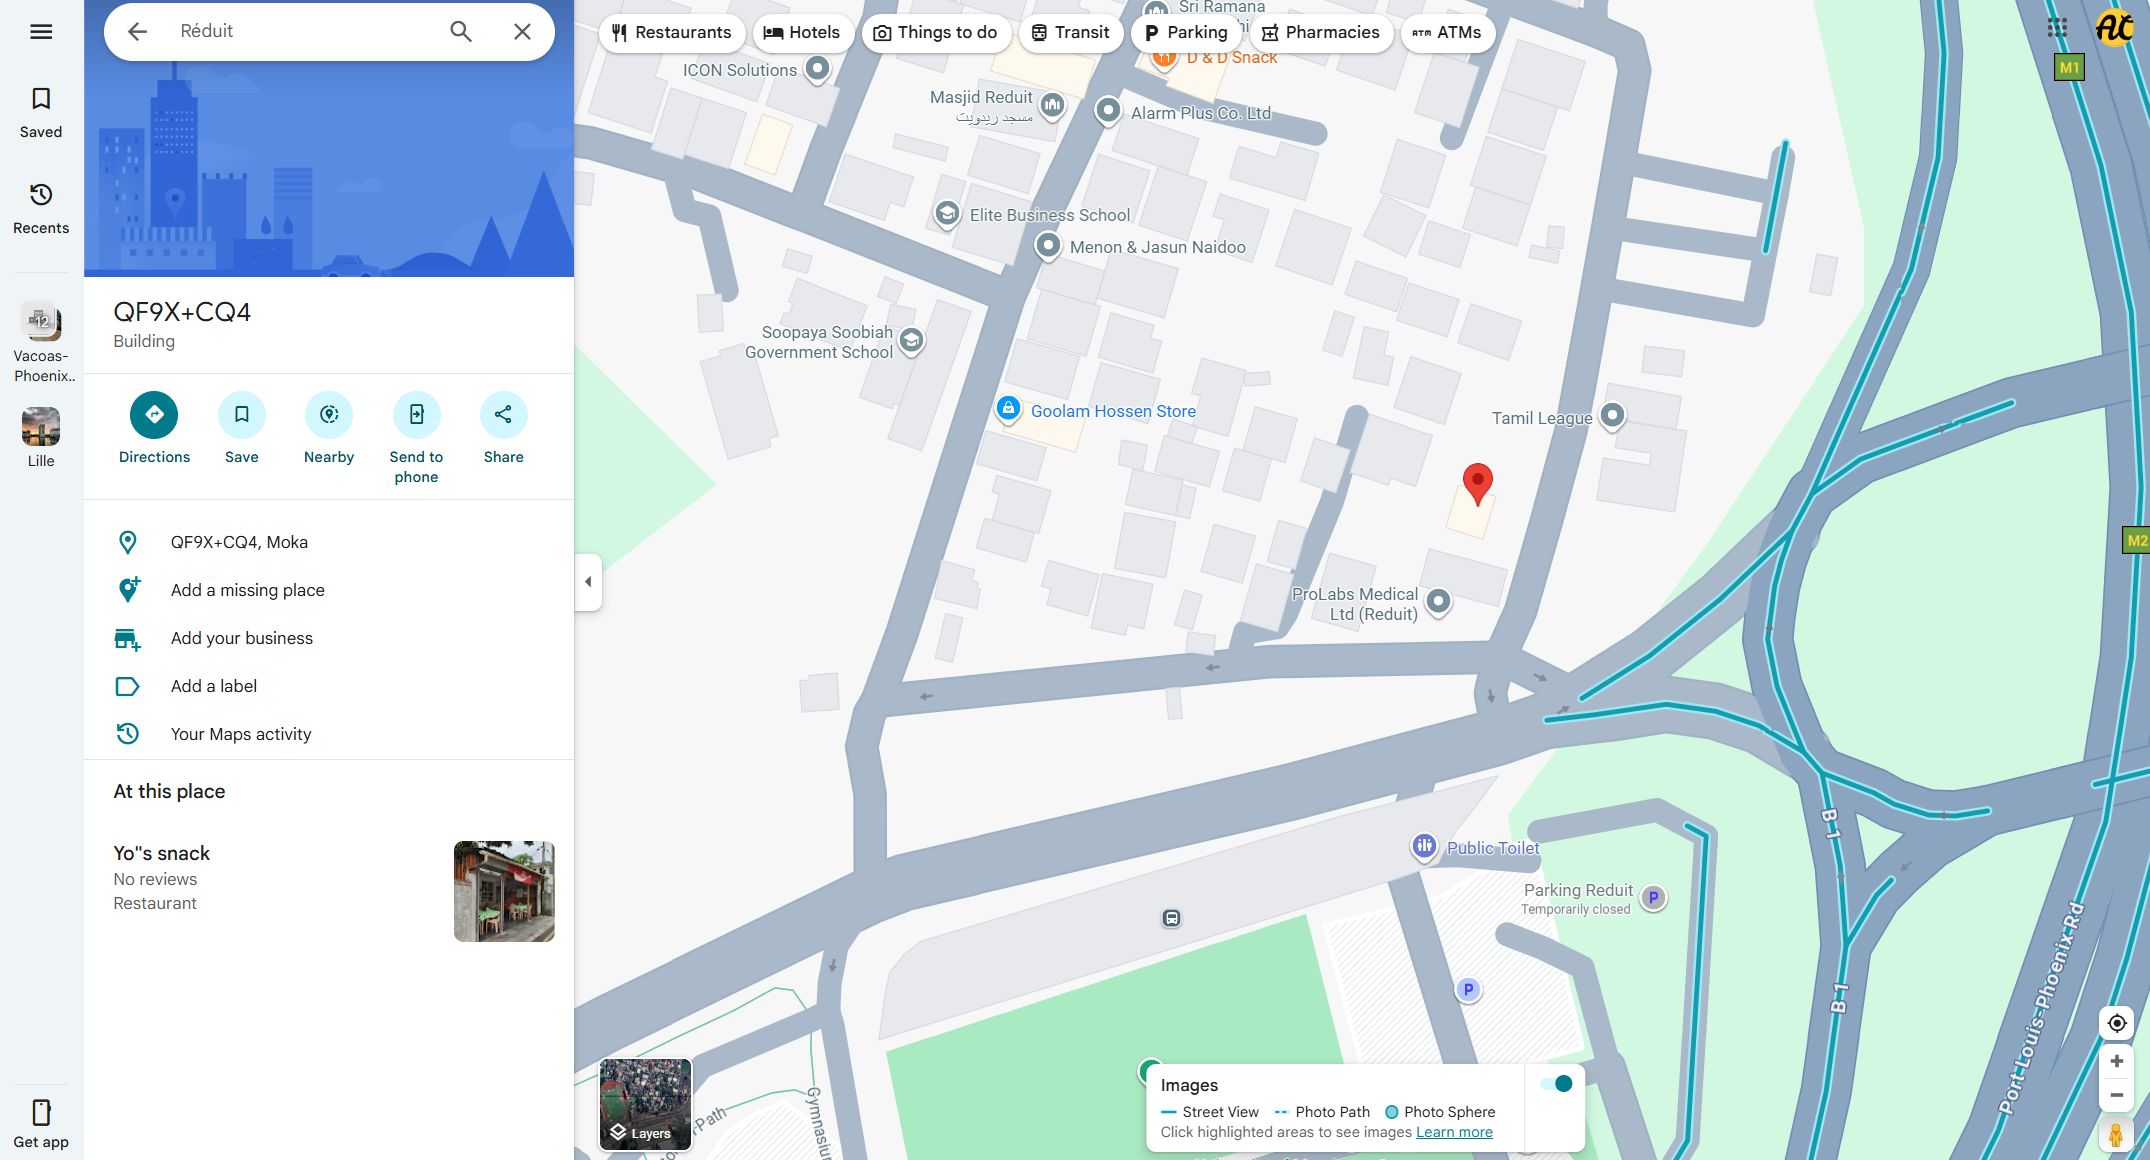
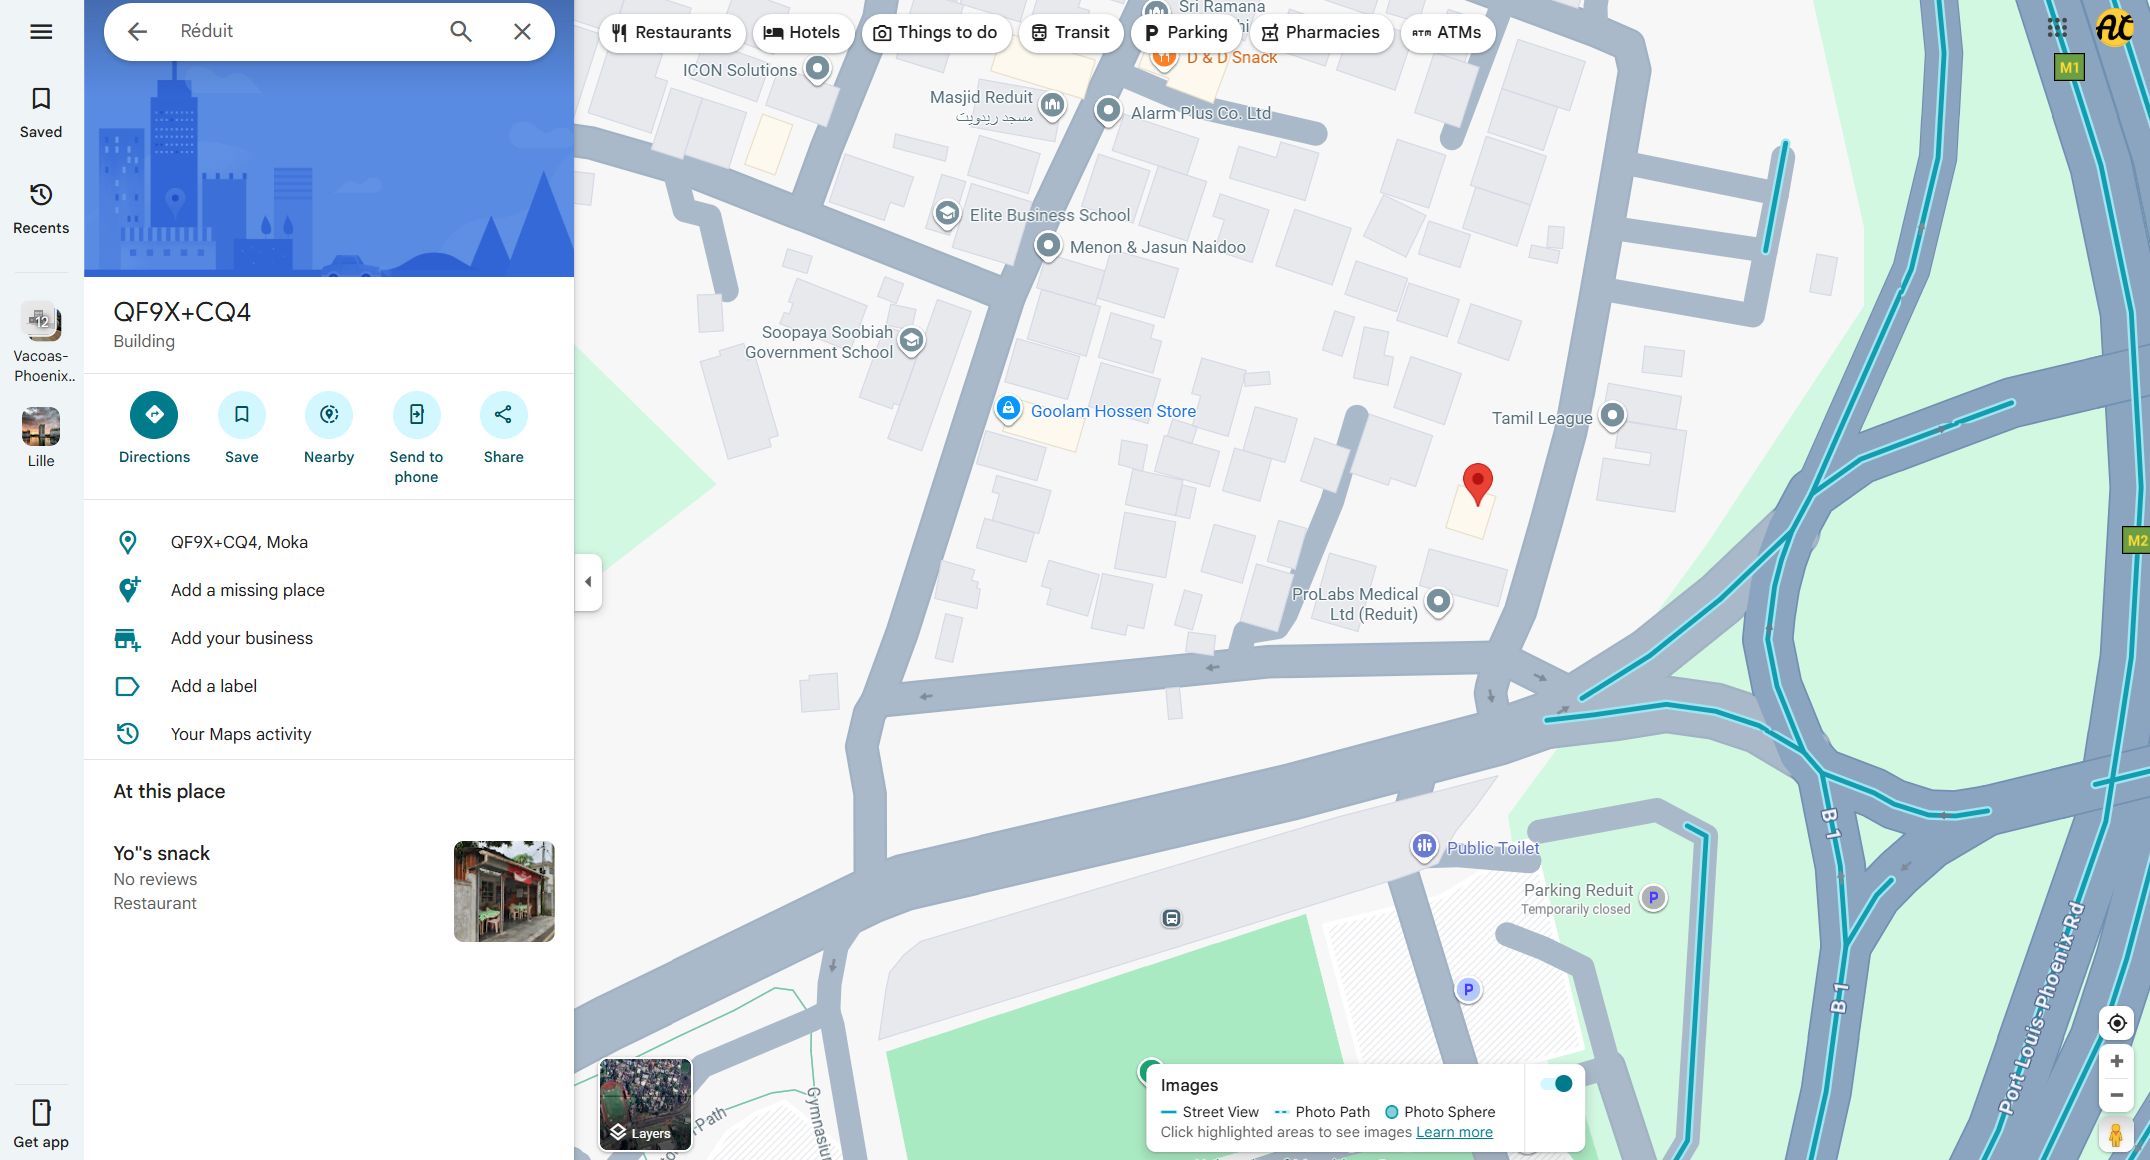
The map view helps the Transport Manager visualize where drivers and vehicles are currently located. This is useful for monitoring ongoing trips, ensuring timely arrivals, and managing conference logistics efficiently.
Data Entry Tutorial
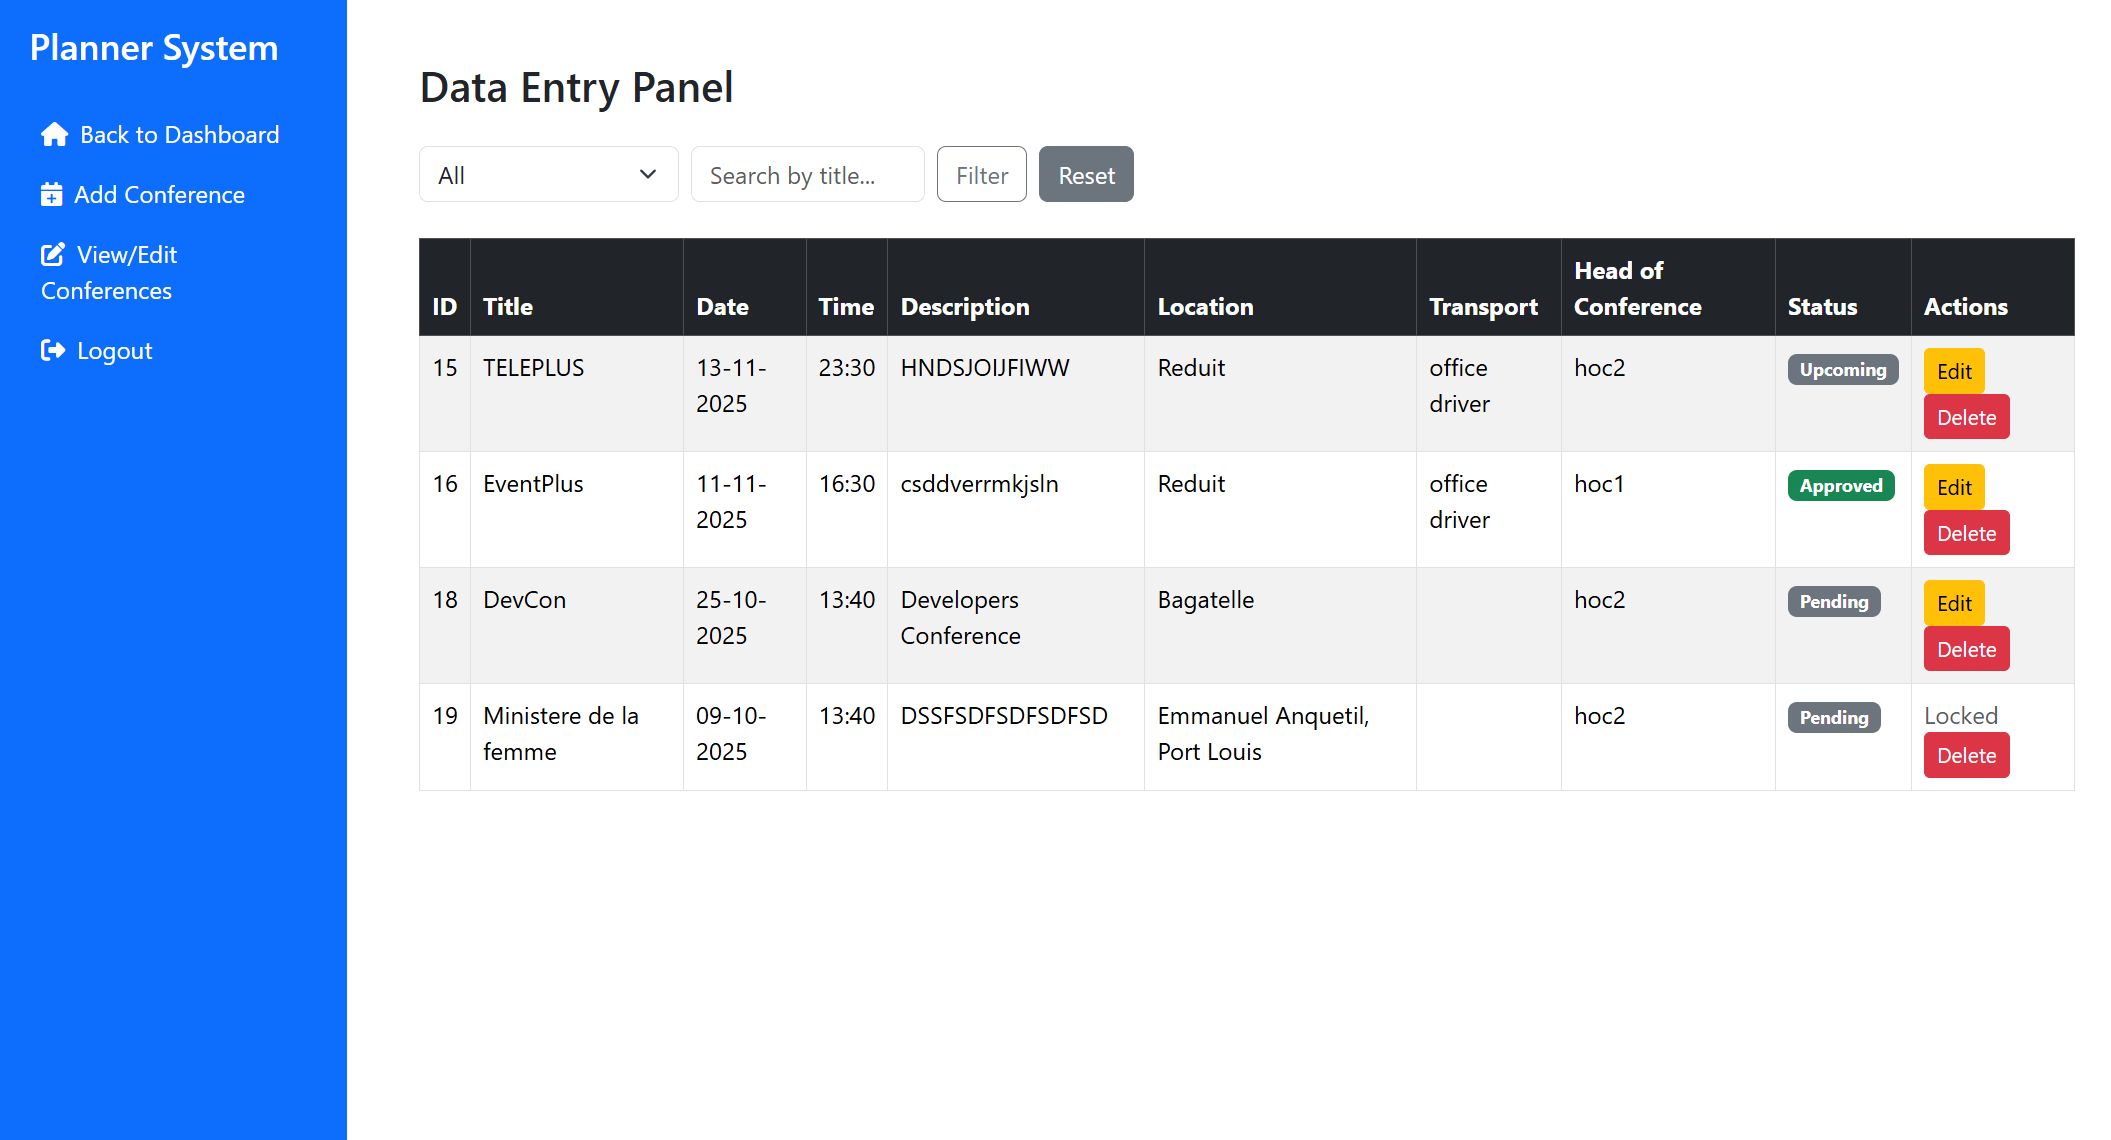
The Data Entry role is responsible for entering and maintaining conference information in the Planner System. This includes creating new conference records, updating existing ones, and deleting outdated or incorrect entries when necessary.
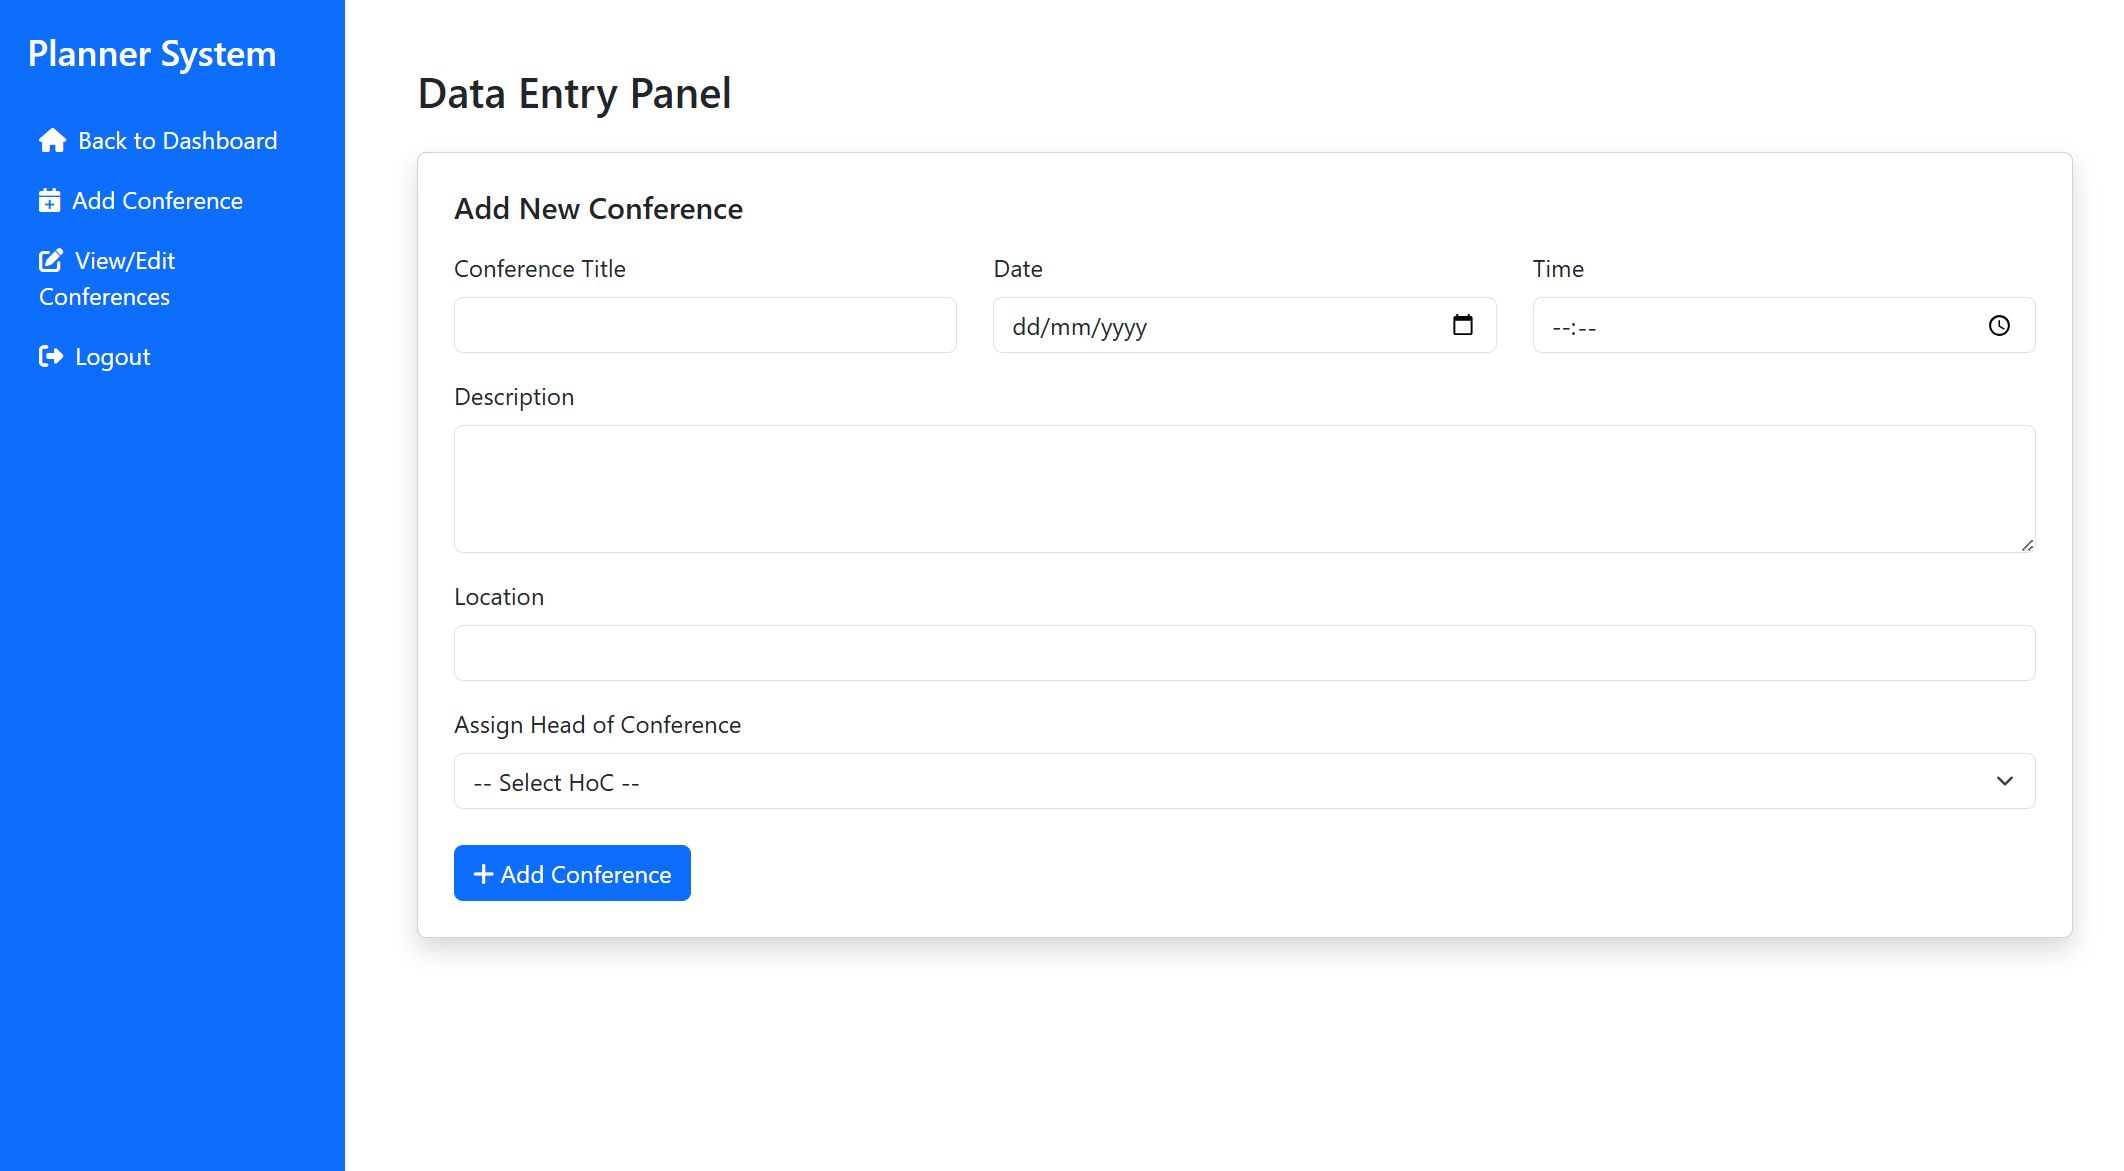
This screen allows the Data Entry operator to add a new conference.
Fill in all the required fields, such as conference name, date, time, and the assigned head of cluster.
The description field can be used to add more details, such as "Pick up camera equipment for David".
As far as possible, the location should be accurate down to the street name, for e.g. "14, Emmanuel Anquetil Street, Port Louis" instead of just "Port Louis". This will provide an accurate map for everyone.
Once everything is filled out, click Add Conference to record the conference in the system.
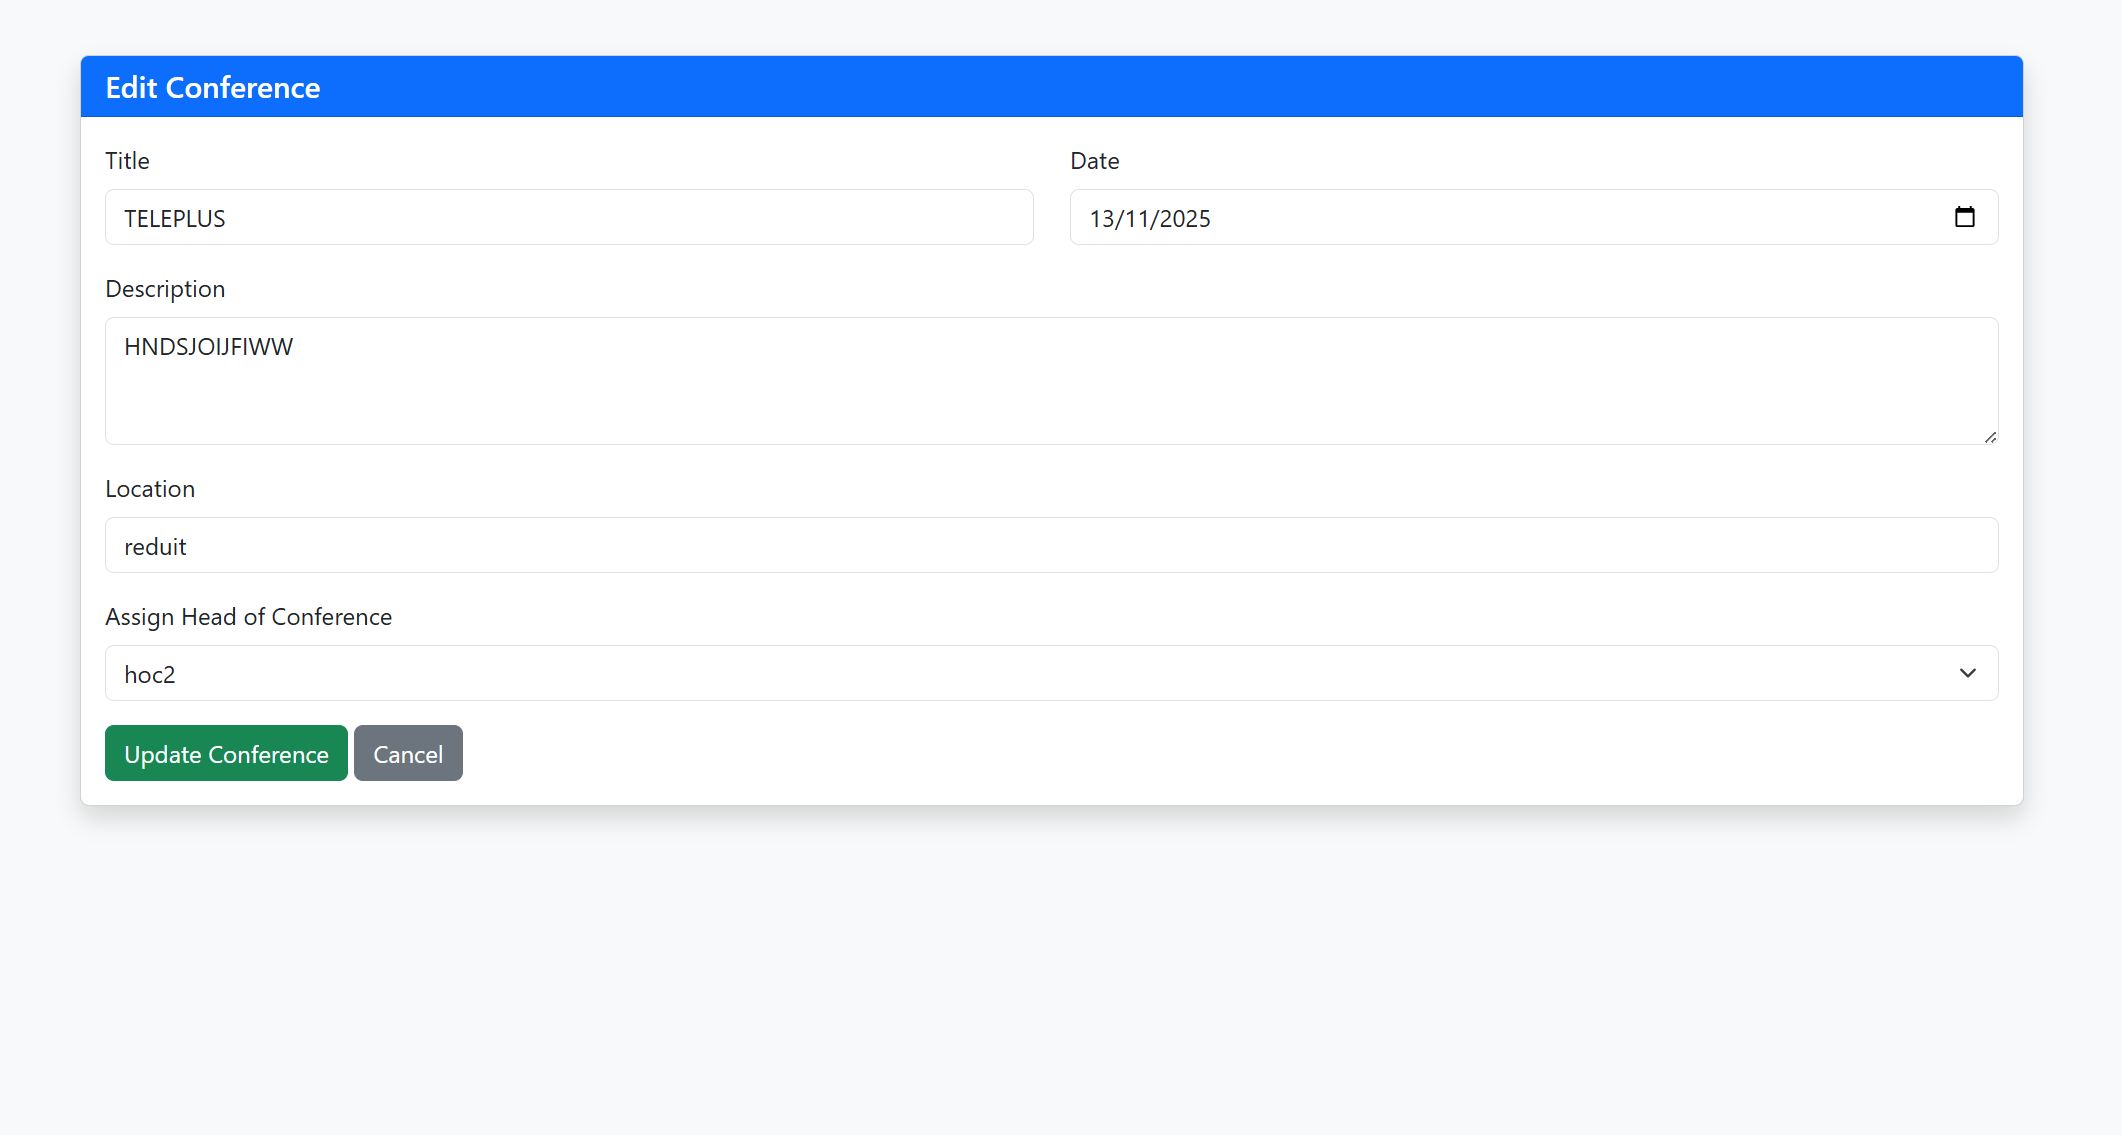
This screen allows the Data Entry operator to edit an existing conference. To make changes, locate the conference you want to update, click the Edit button, modify the necessary details, and then press Update Conference to apply the updates.
This view provides a complete list of all conferences in the system. The Data Entry operator can quickly find, view, edit, or delete conferences using the action buttons in the rightmost column. To remove an outdated conference, click Delete; to make changes, click Edit.
Reporter Tutorial
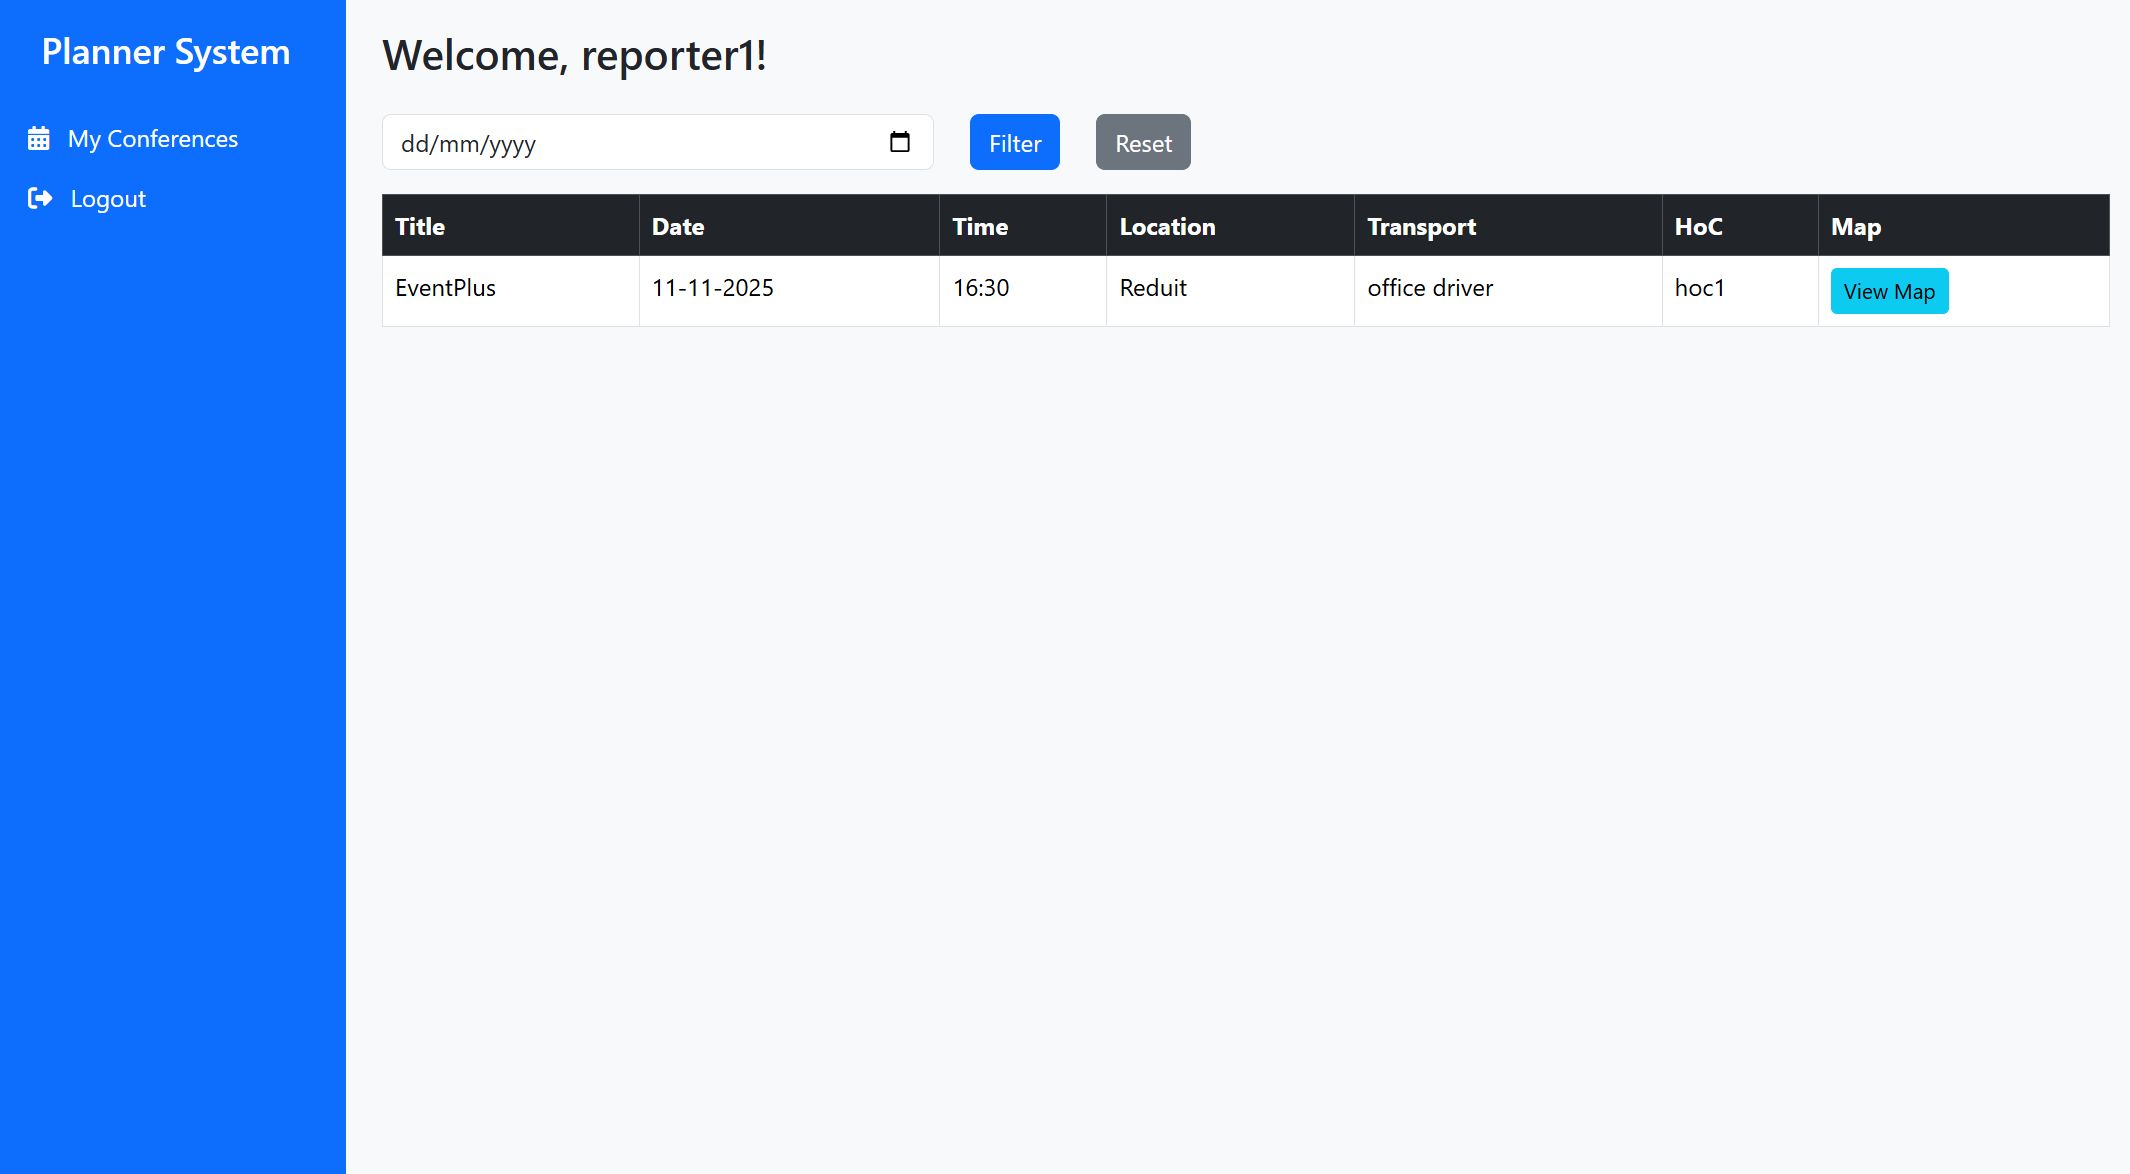
The Reporter uses the Planner System to view their assigned conferences, check schedules, and navigate to assigned event locations. This helps ensure they are always aware of where they need to be and when.
This screen allows the Reporter to view a list of all conferences they’ve been assigned to. Each conference includes details such as the name, date, time, location, vehicle, assigned head of cluster, and map. Reporters can also filter conferences by date.
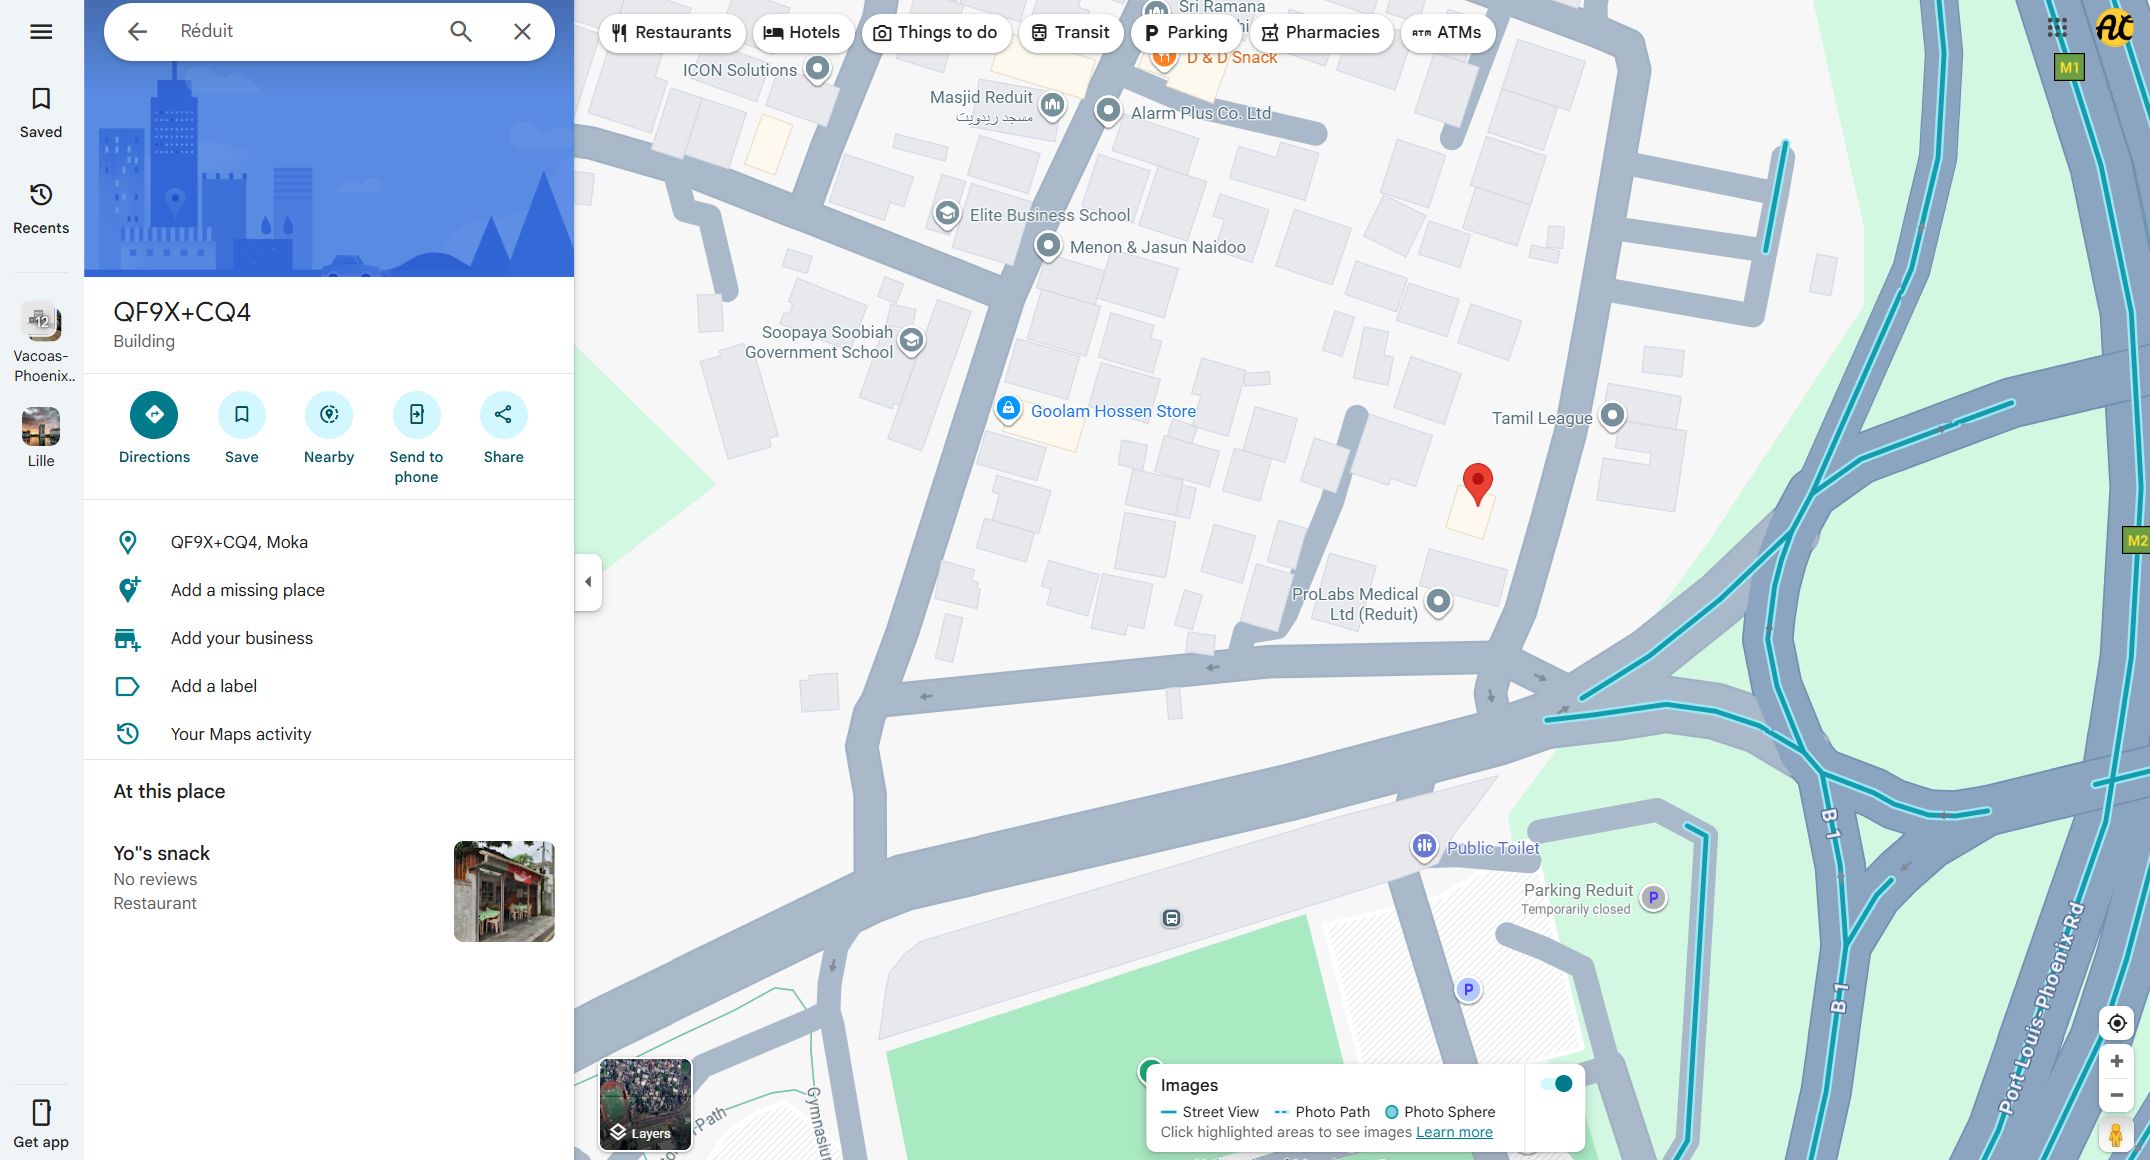
The map view helps the Reporter locate their assigned conference venues. It displays markers for each event, making it easier to plan travel and arrive on time. You can zoom in and out or click on a marker to view more details about the location.
Videographer Tutorial
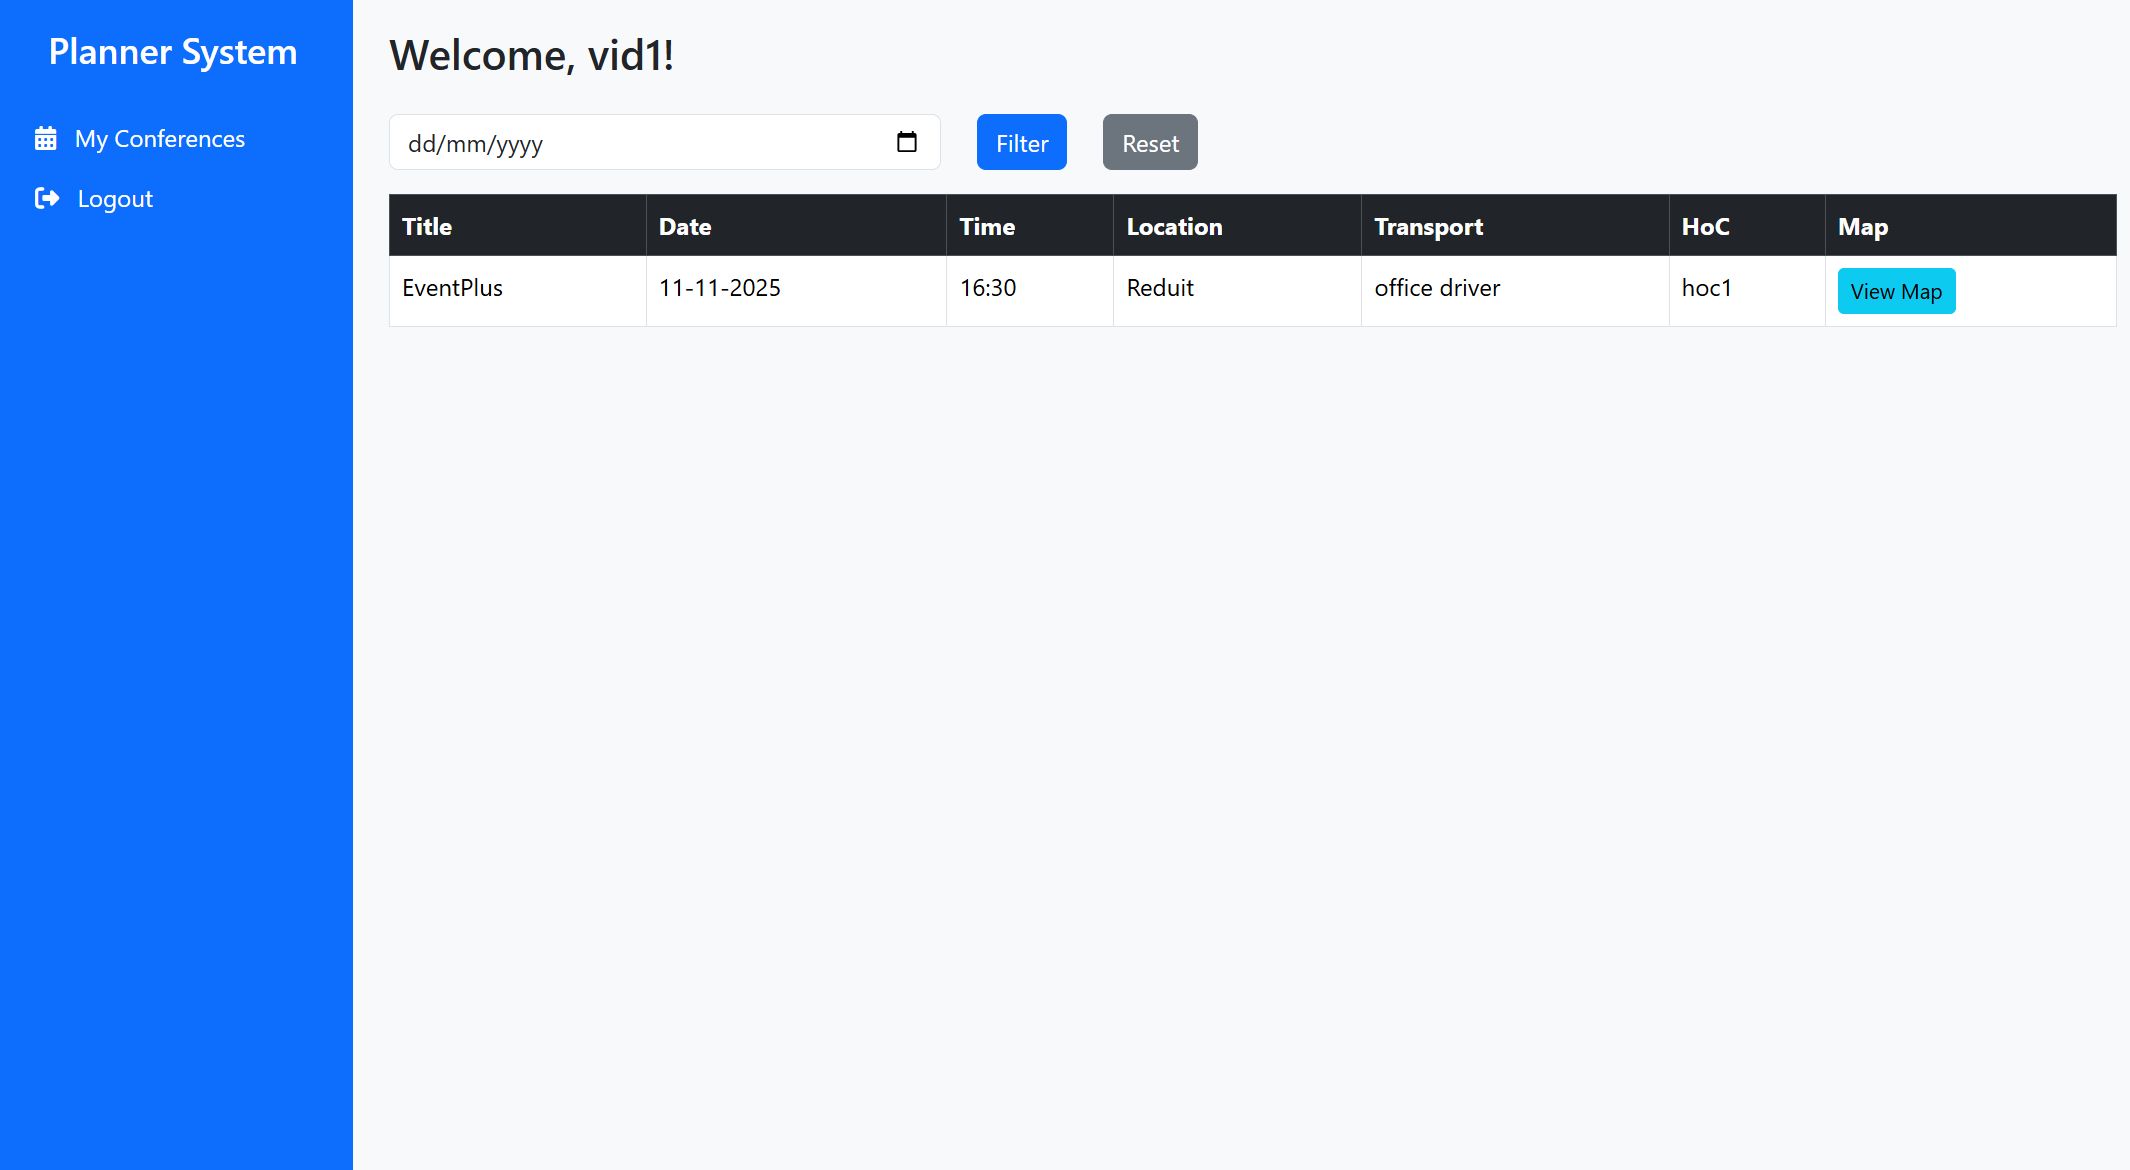
The Videographer uses the Planner System to view their assigned conferences and track event details. This ensures that all video coverage assignments are clear and properly scheduled in coordination with reporters and transport staff.
This screen displays the list of conferences assigned to the Videographer. Each entry includes the conference name, date, time, location, vehicle, assigned head of cluster, and map. Videographers can use this view to plan their coverage schedule and ensure all assignments are properly completed. Videographers can also filter conferences by date.
The map view provides a visual overview of assigned conference venues. Videographers can use the map to find event locations quickly, plan routes, and coordinate timing with their assigned head of cluster and driver.